Overview
This guide walks you through setting up an AWS connector in Cloudsania, enabling you to manage your AWS resources efficiently.Prerequisites
- You have an active AWS account
- You have the necessary permission to create IAM users.
Setting Up AWS Cloud Connectors
Video Tutorial: Setting Up AWS Default Access Connector
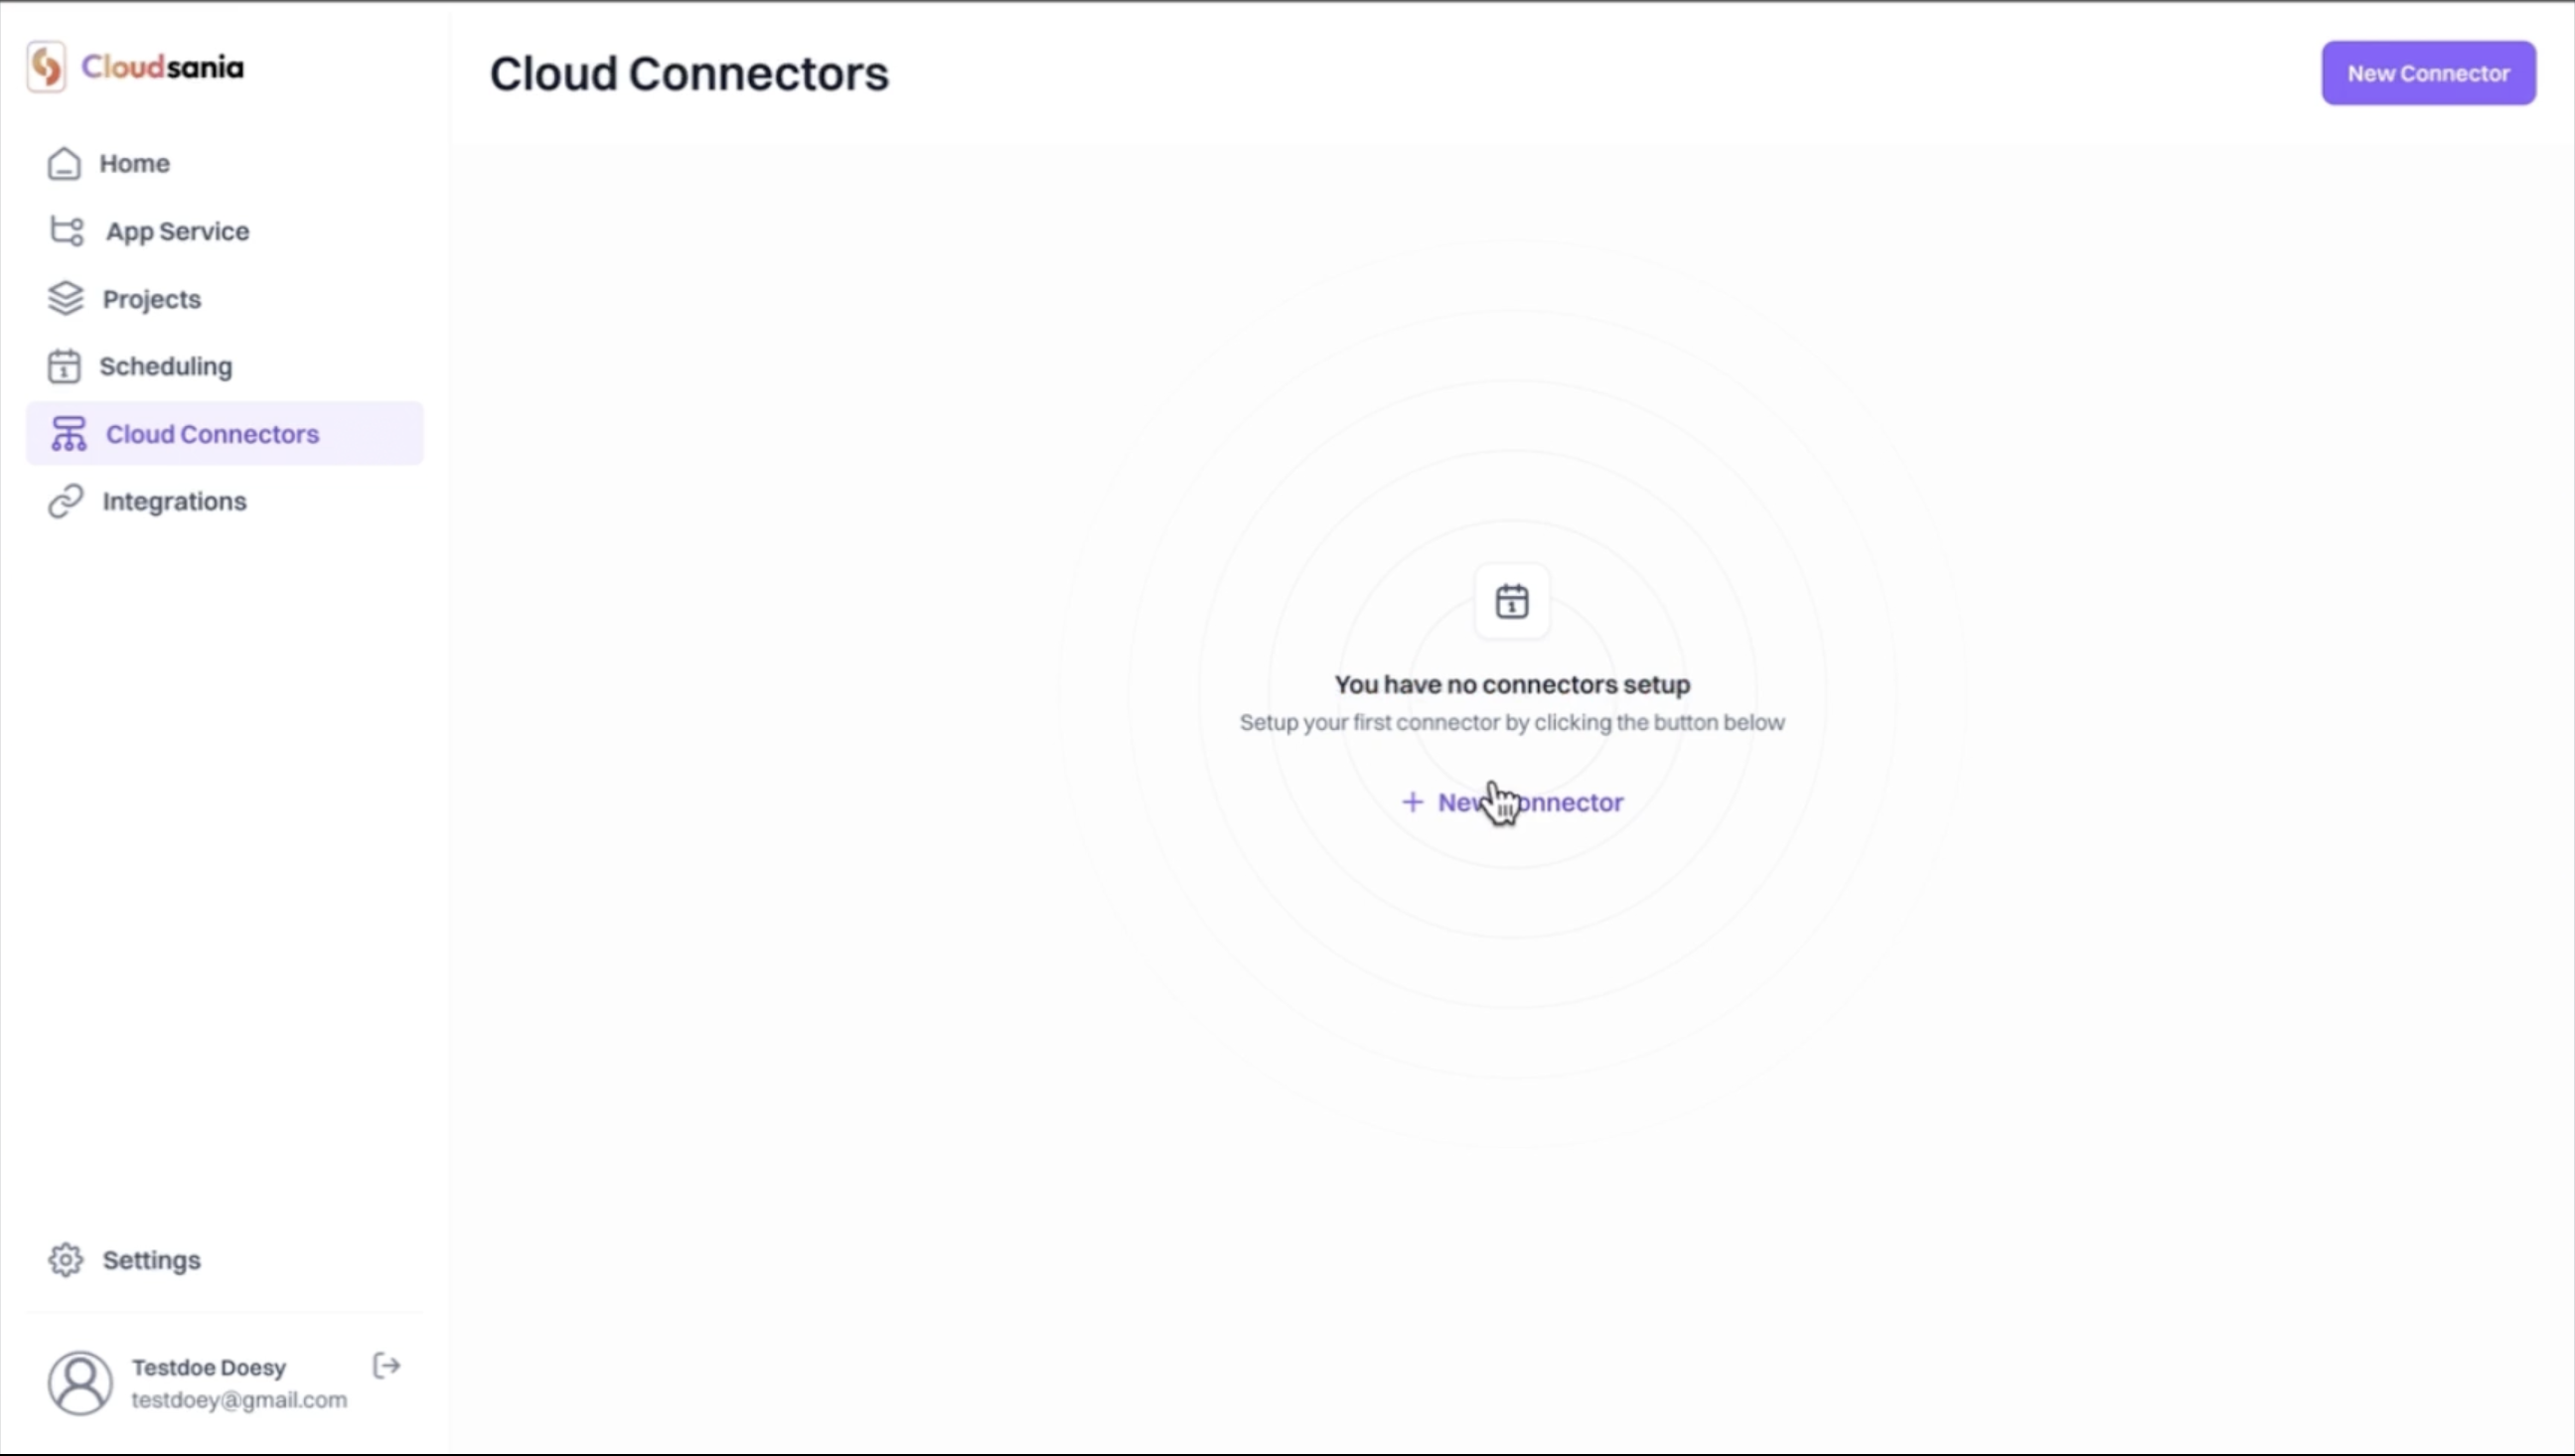
- On the side navbar, click on “Cloud Connnector”.
- Click on “New Connector” button on the Cloud Connector Page.
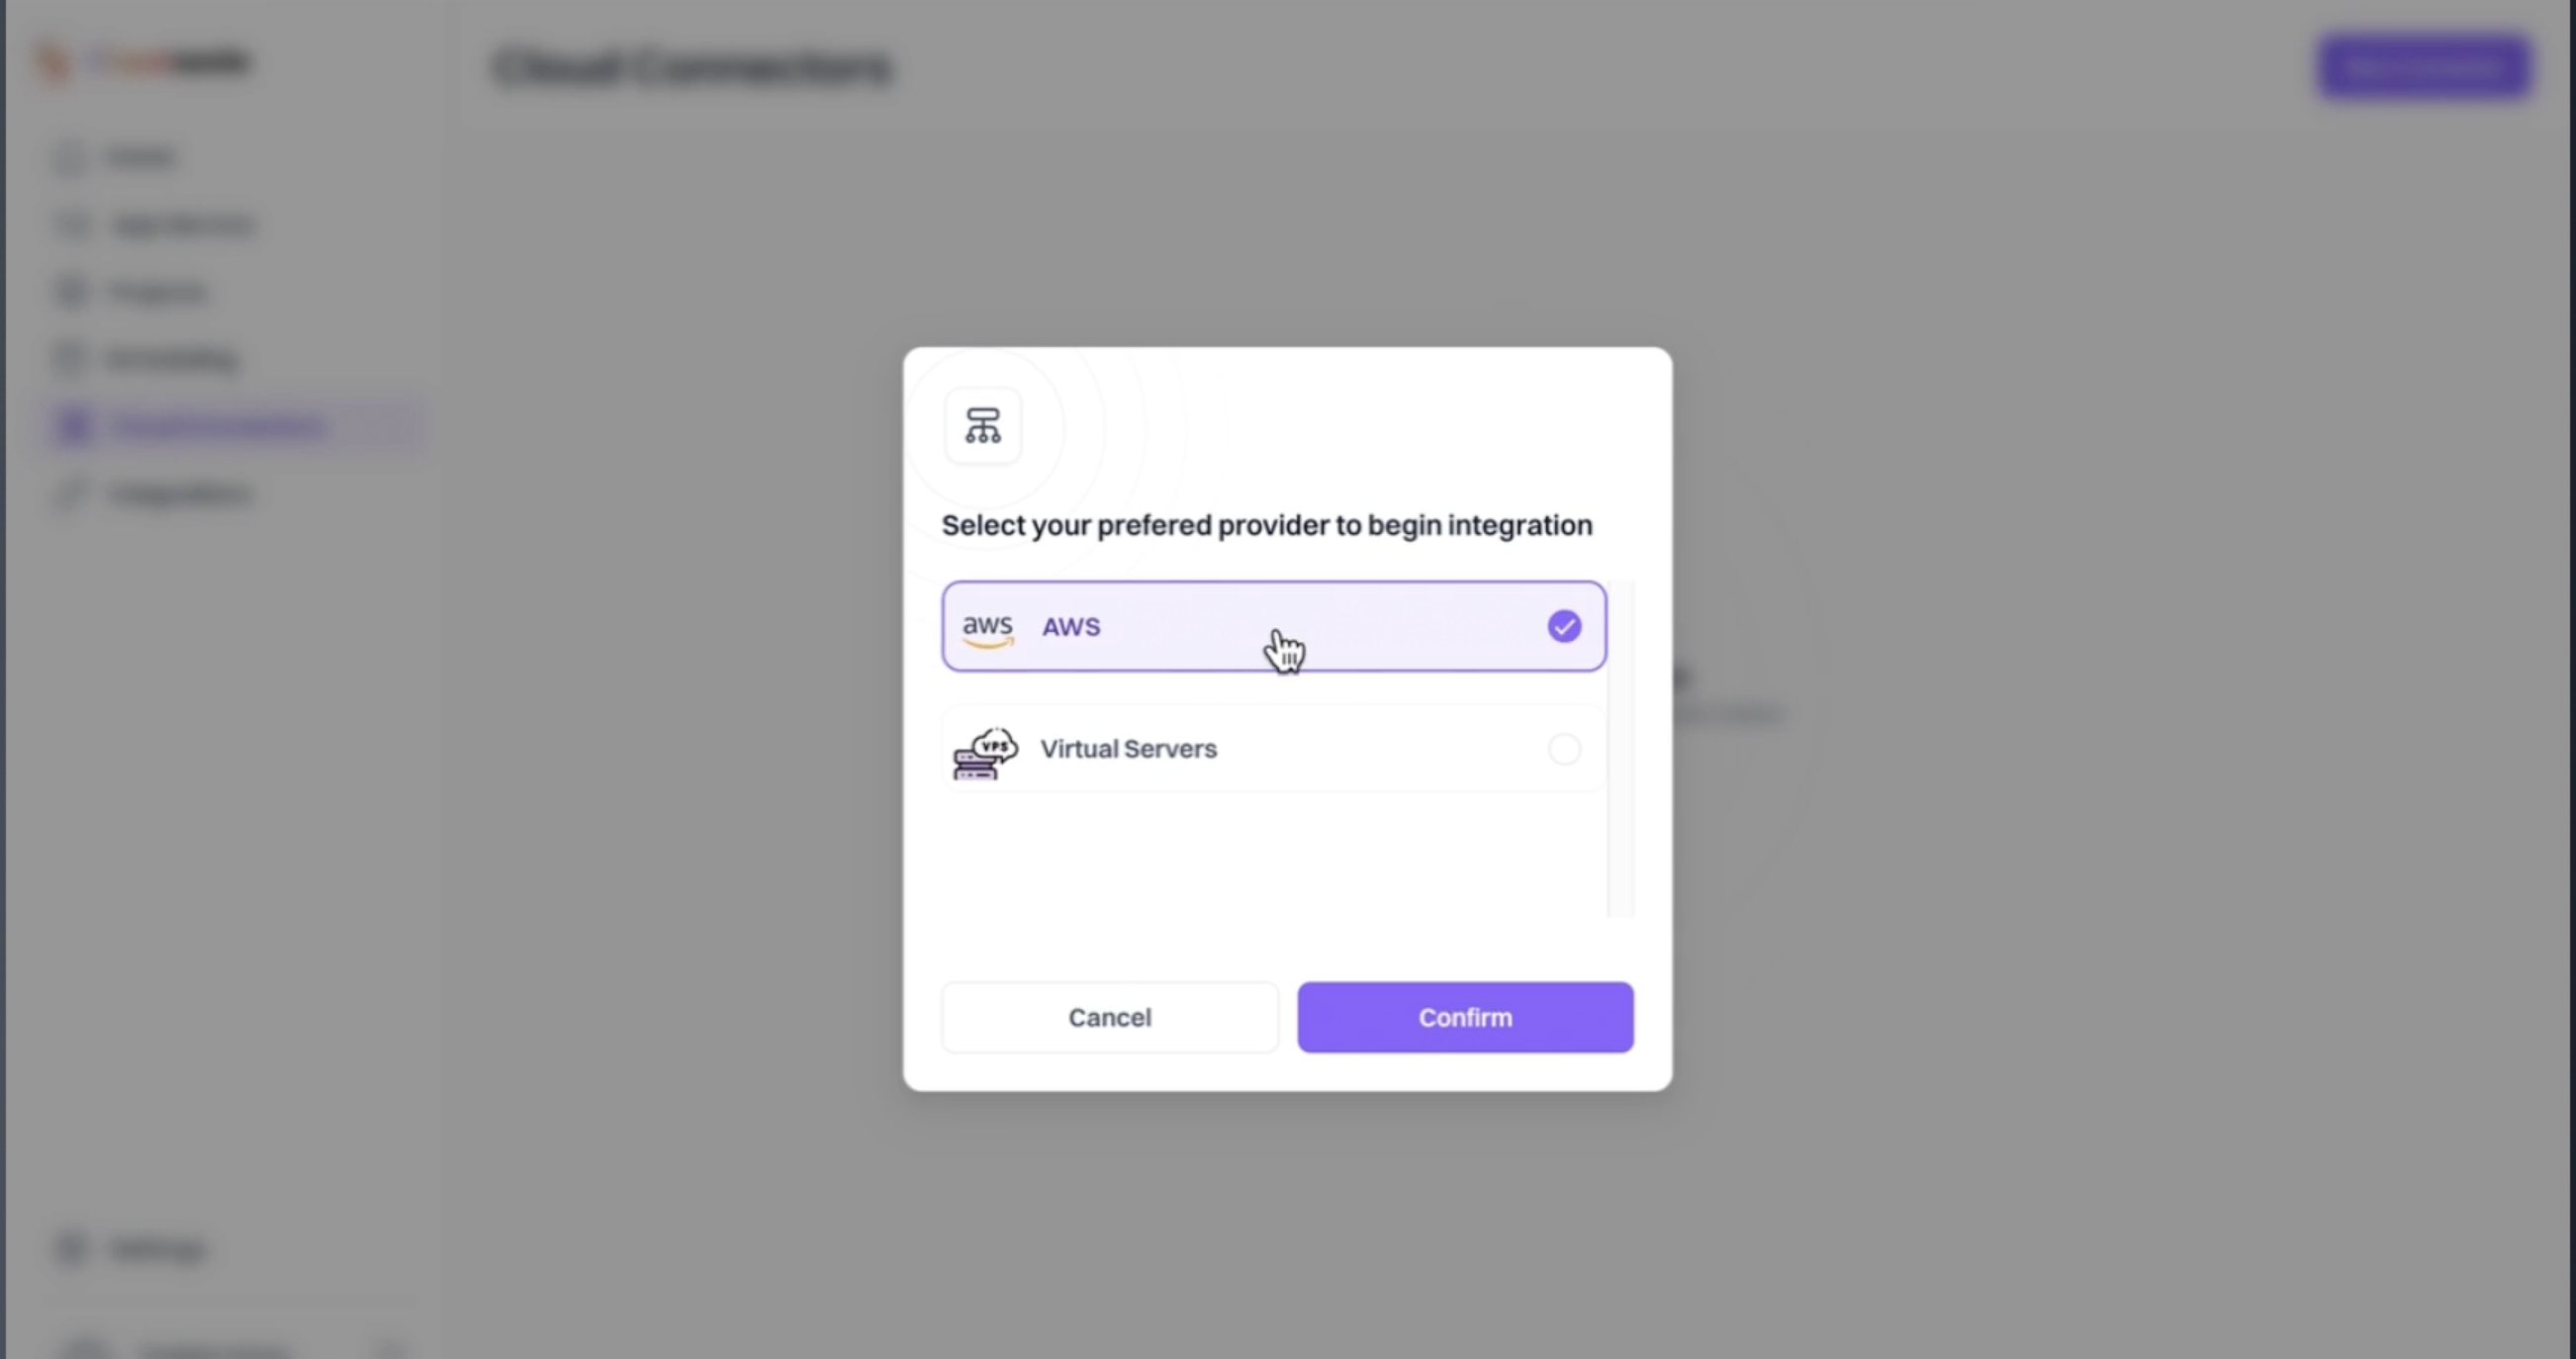
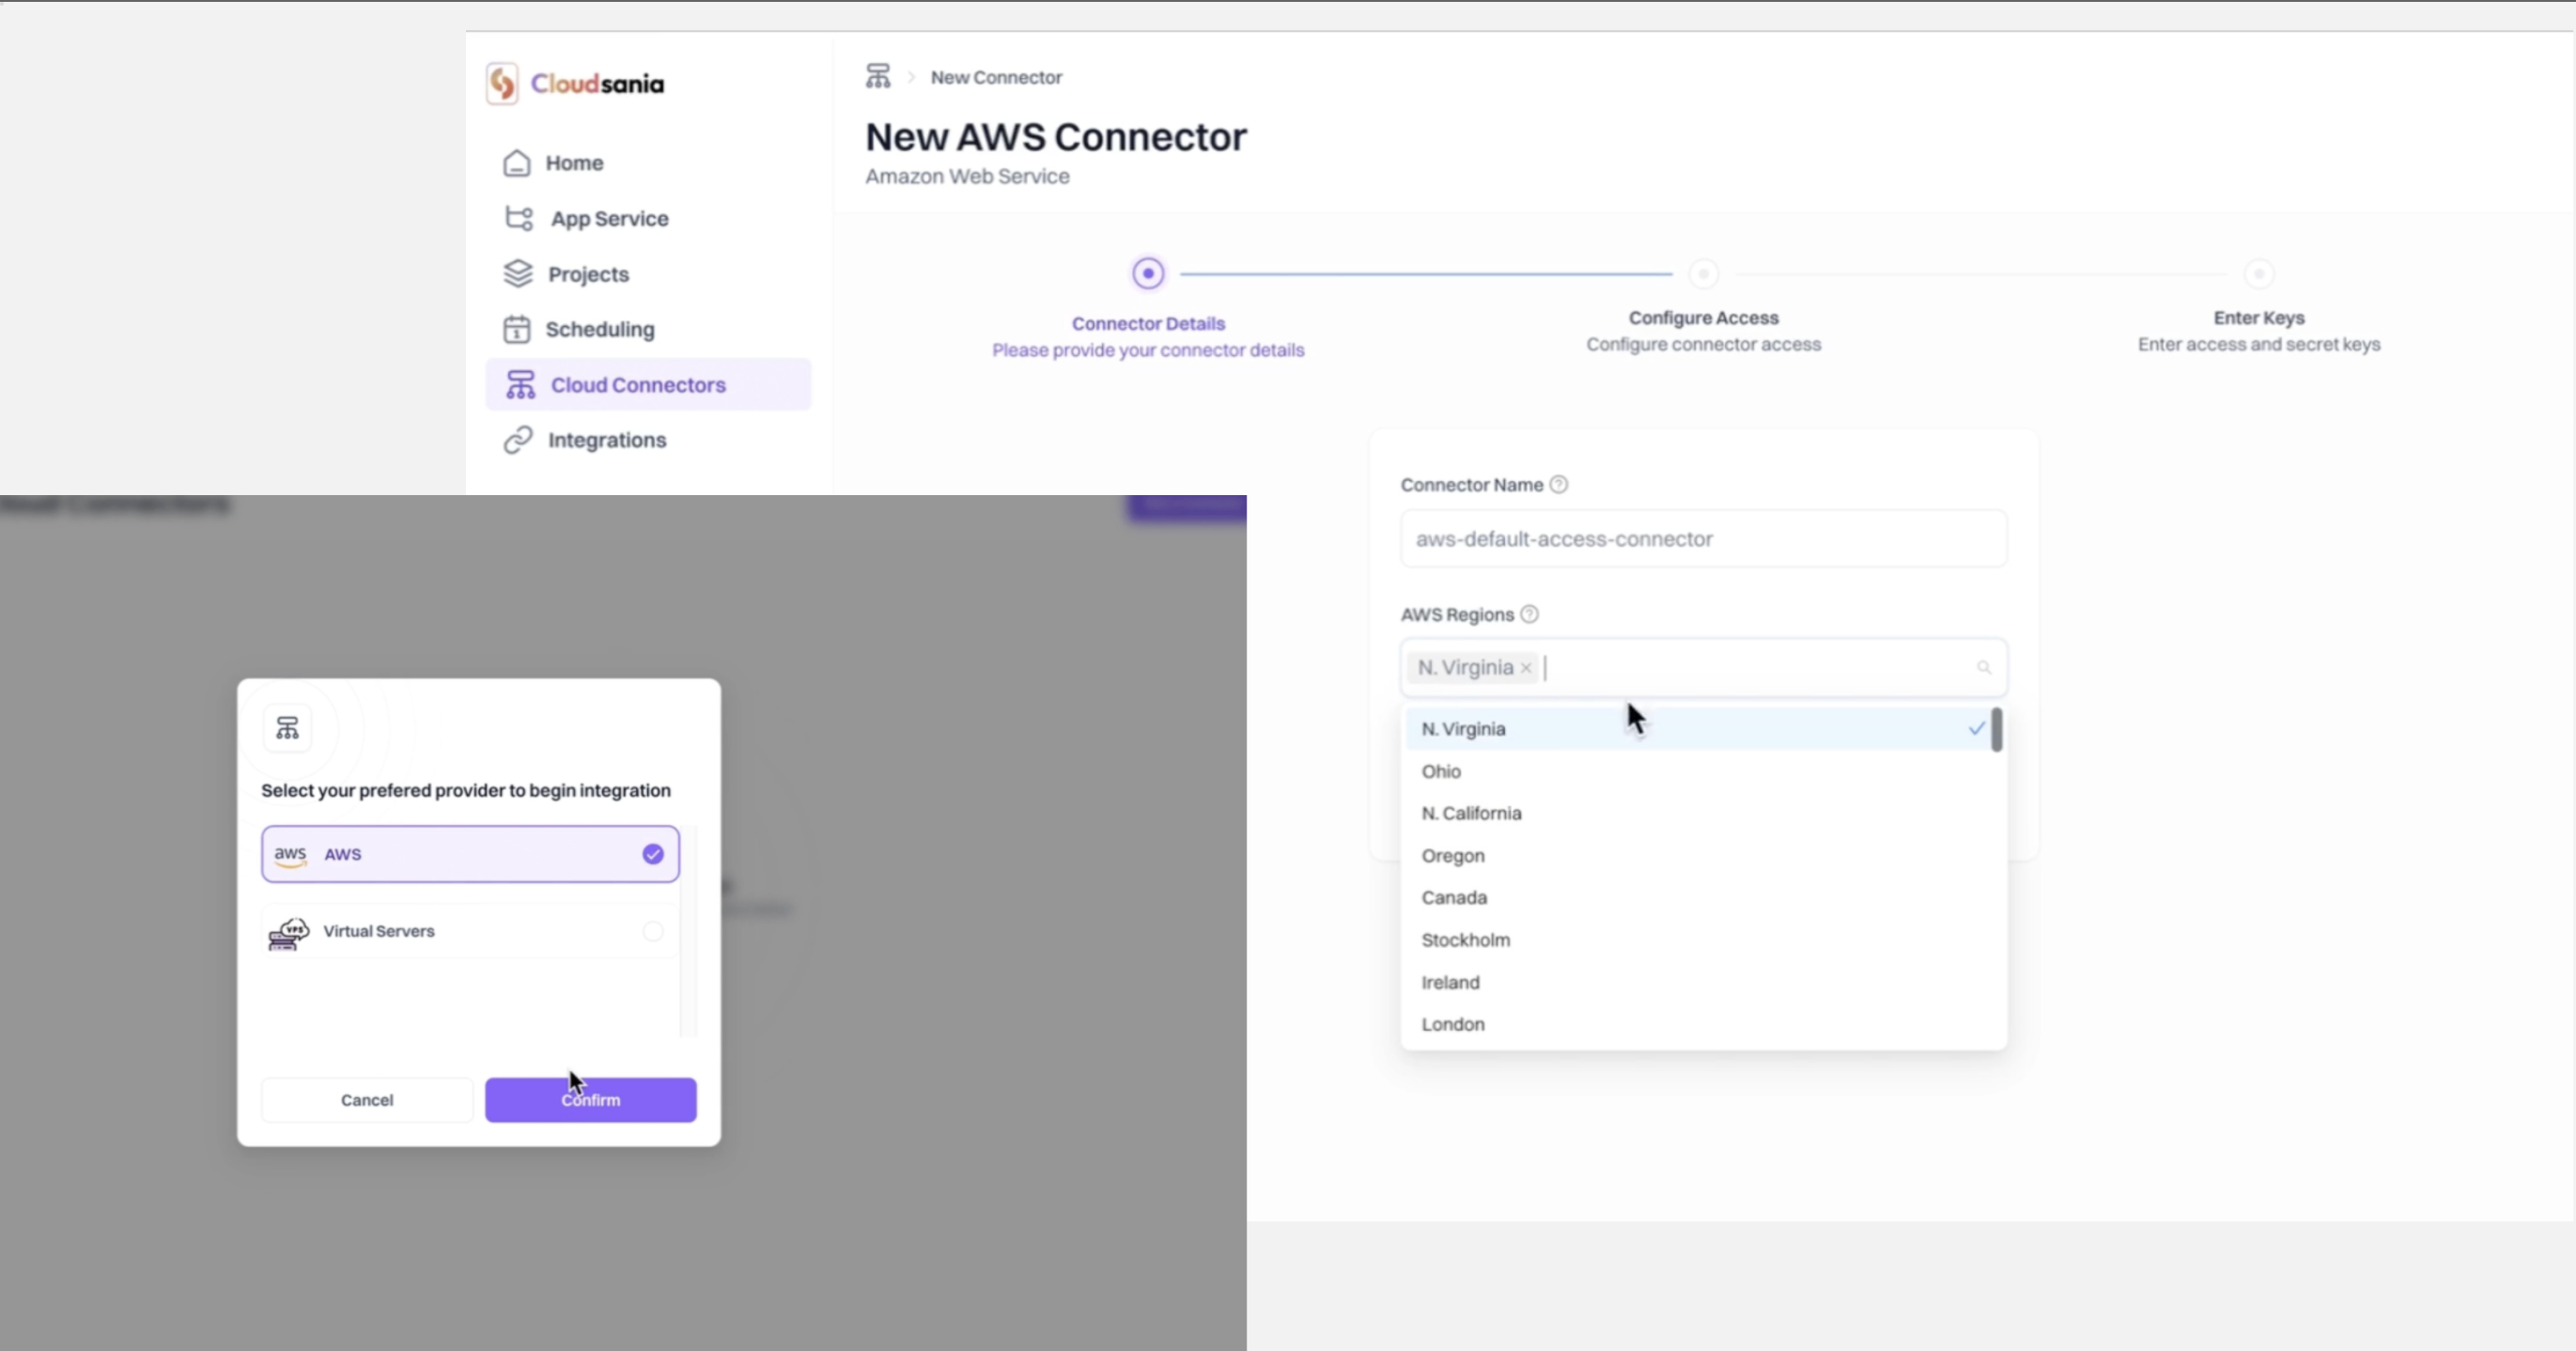
- Select the “AWS” option from the list of cloud providers displayed and click on the “Confirm” button.
- Provide Your Connector Details.
- Enter Your Connector Name.
- Select your AWS Regions. You’ll get a dropdown to choose your desired AWS Regions.
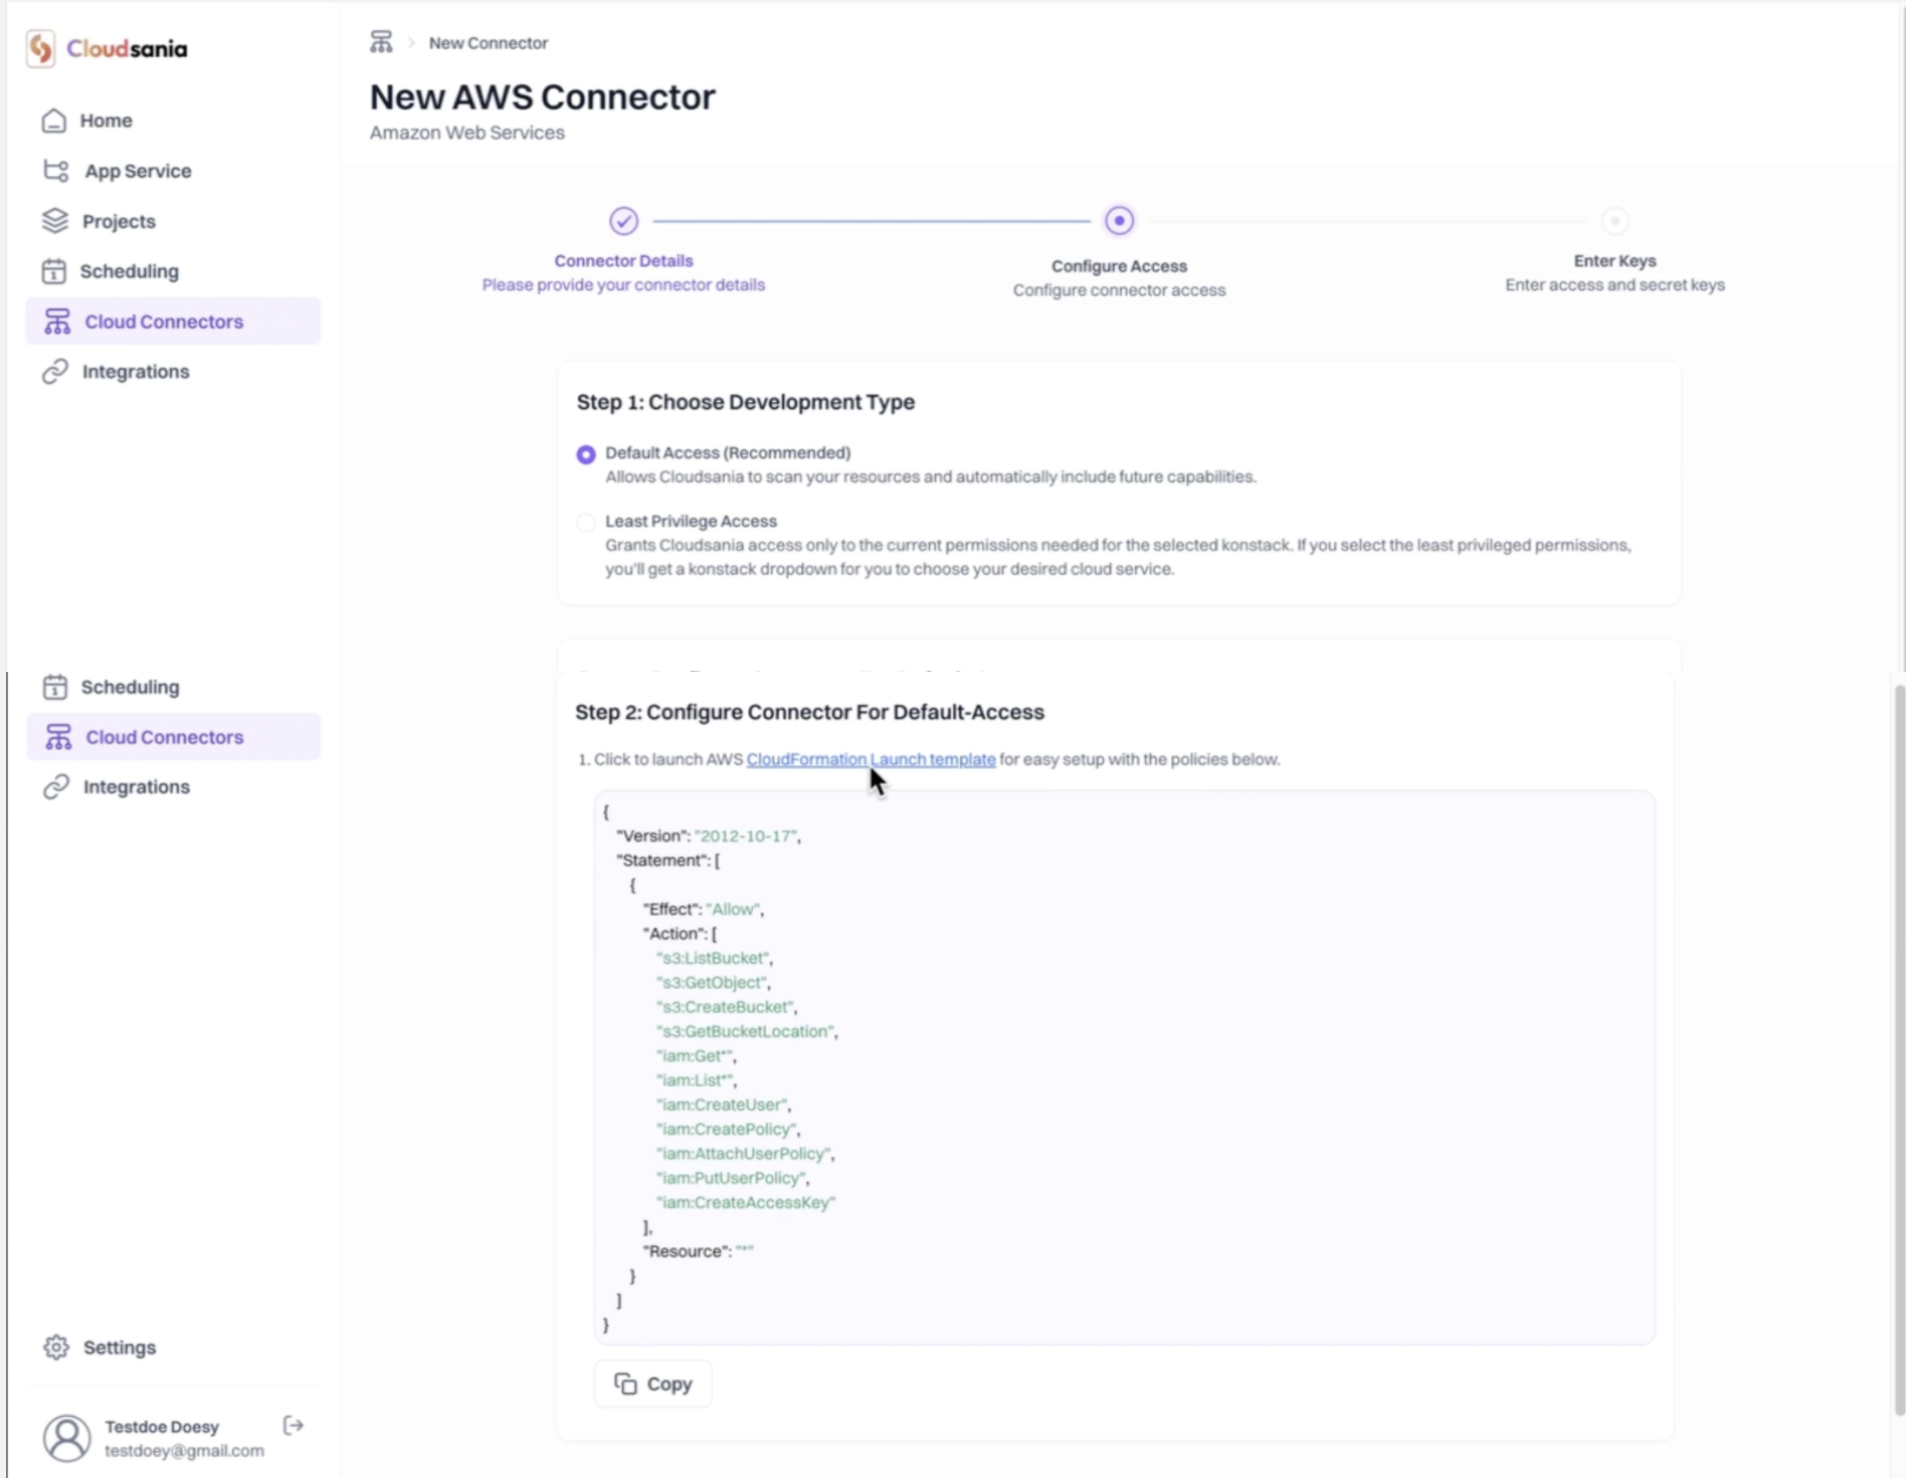
- Configure Your Connector Access. Choose your preferred AWS Connector access type.
-
Configure Your Connector for “Default Access”.
- Click the “CloudFormation Launch template” link for easy setup with Cloudsania default access policy.
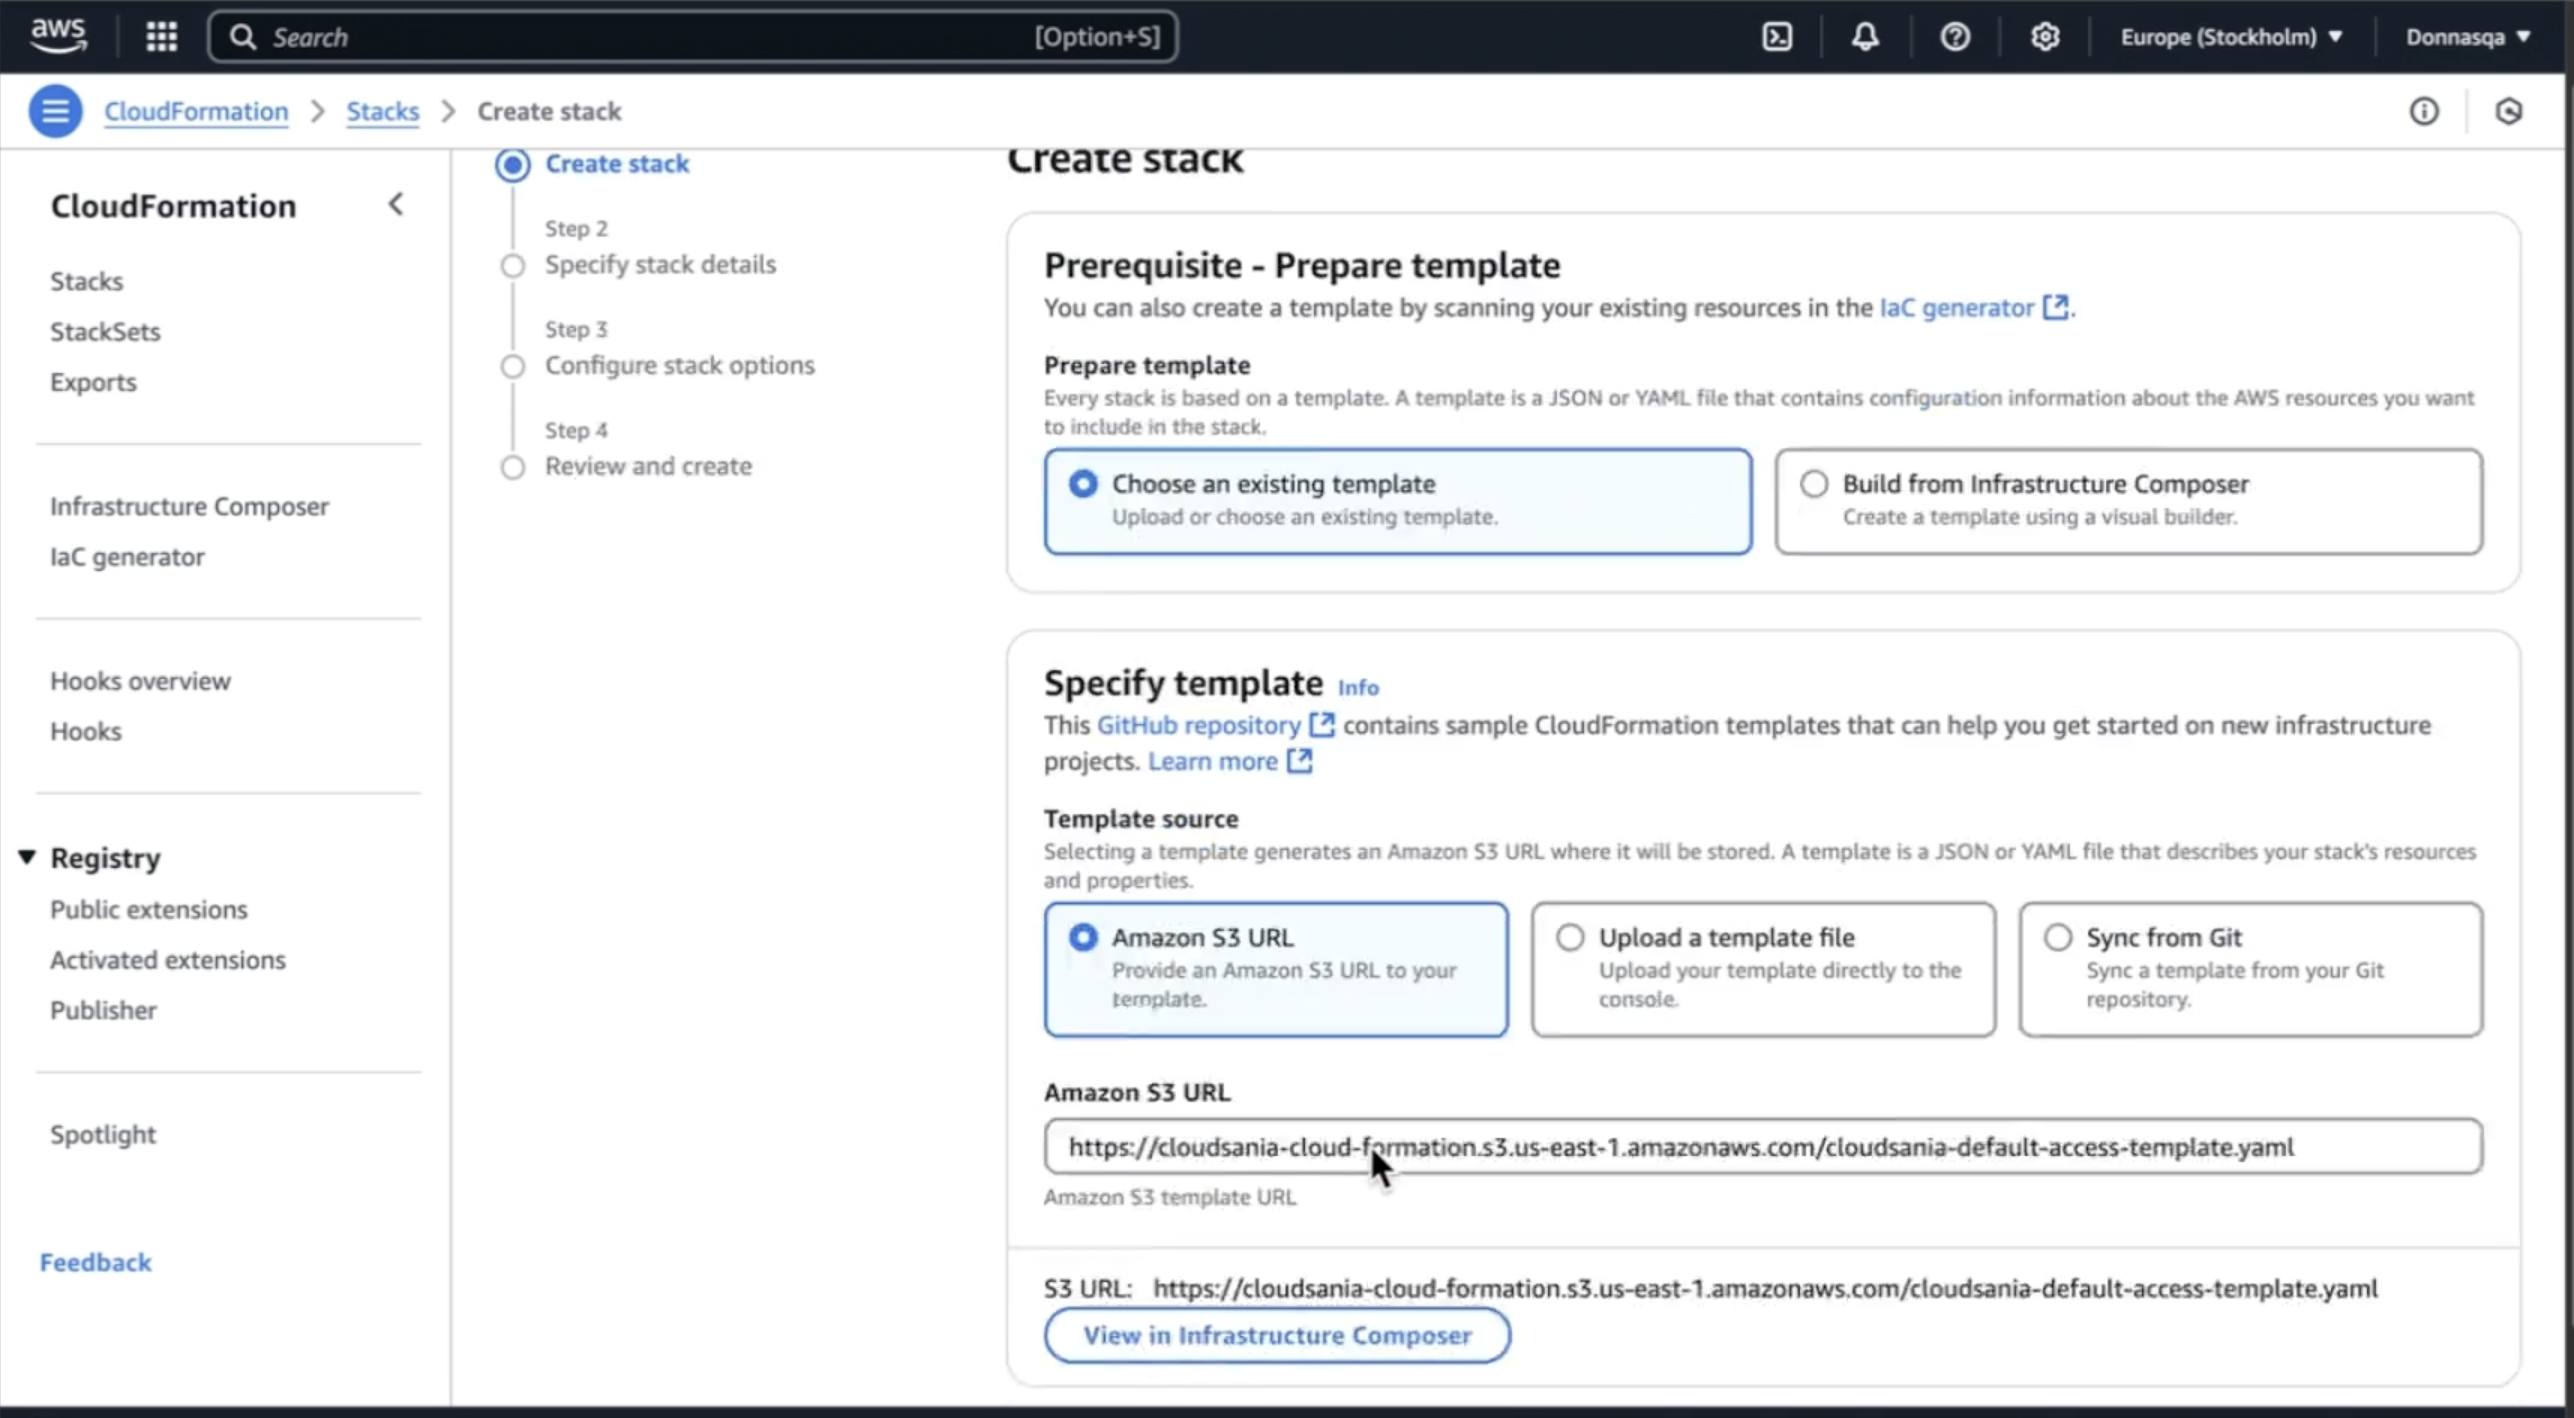
- This will open a new tab and redirect you to AWS CloudFormation page.
- Proceed to create a CloudFormation Stack.
- The Template (Choose an existing template) and “Template source”(Amazon S3 URL) will be preselected for you
- Simply click “Next” to proceed.
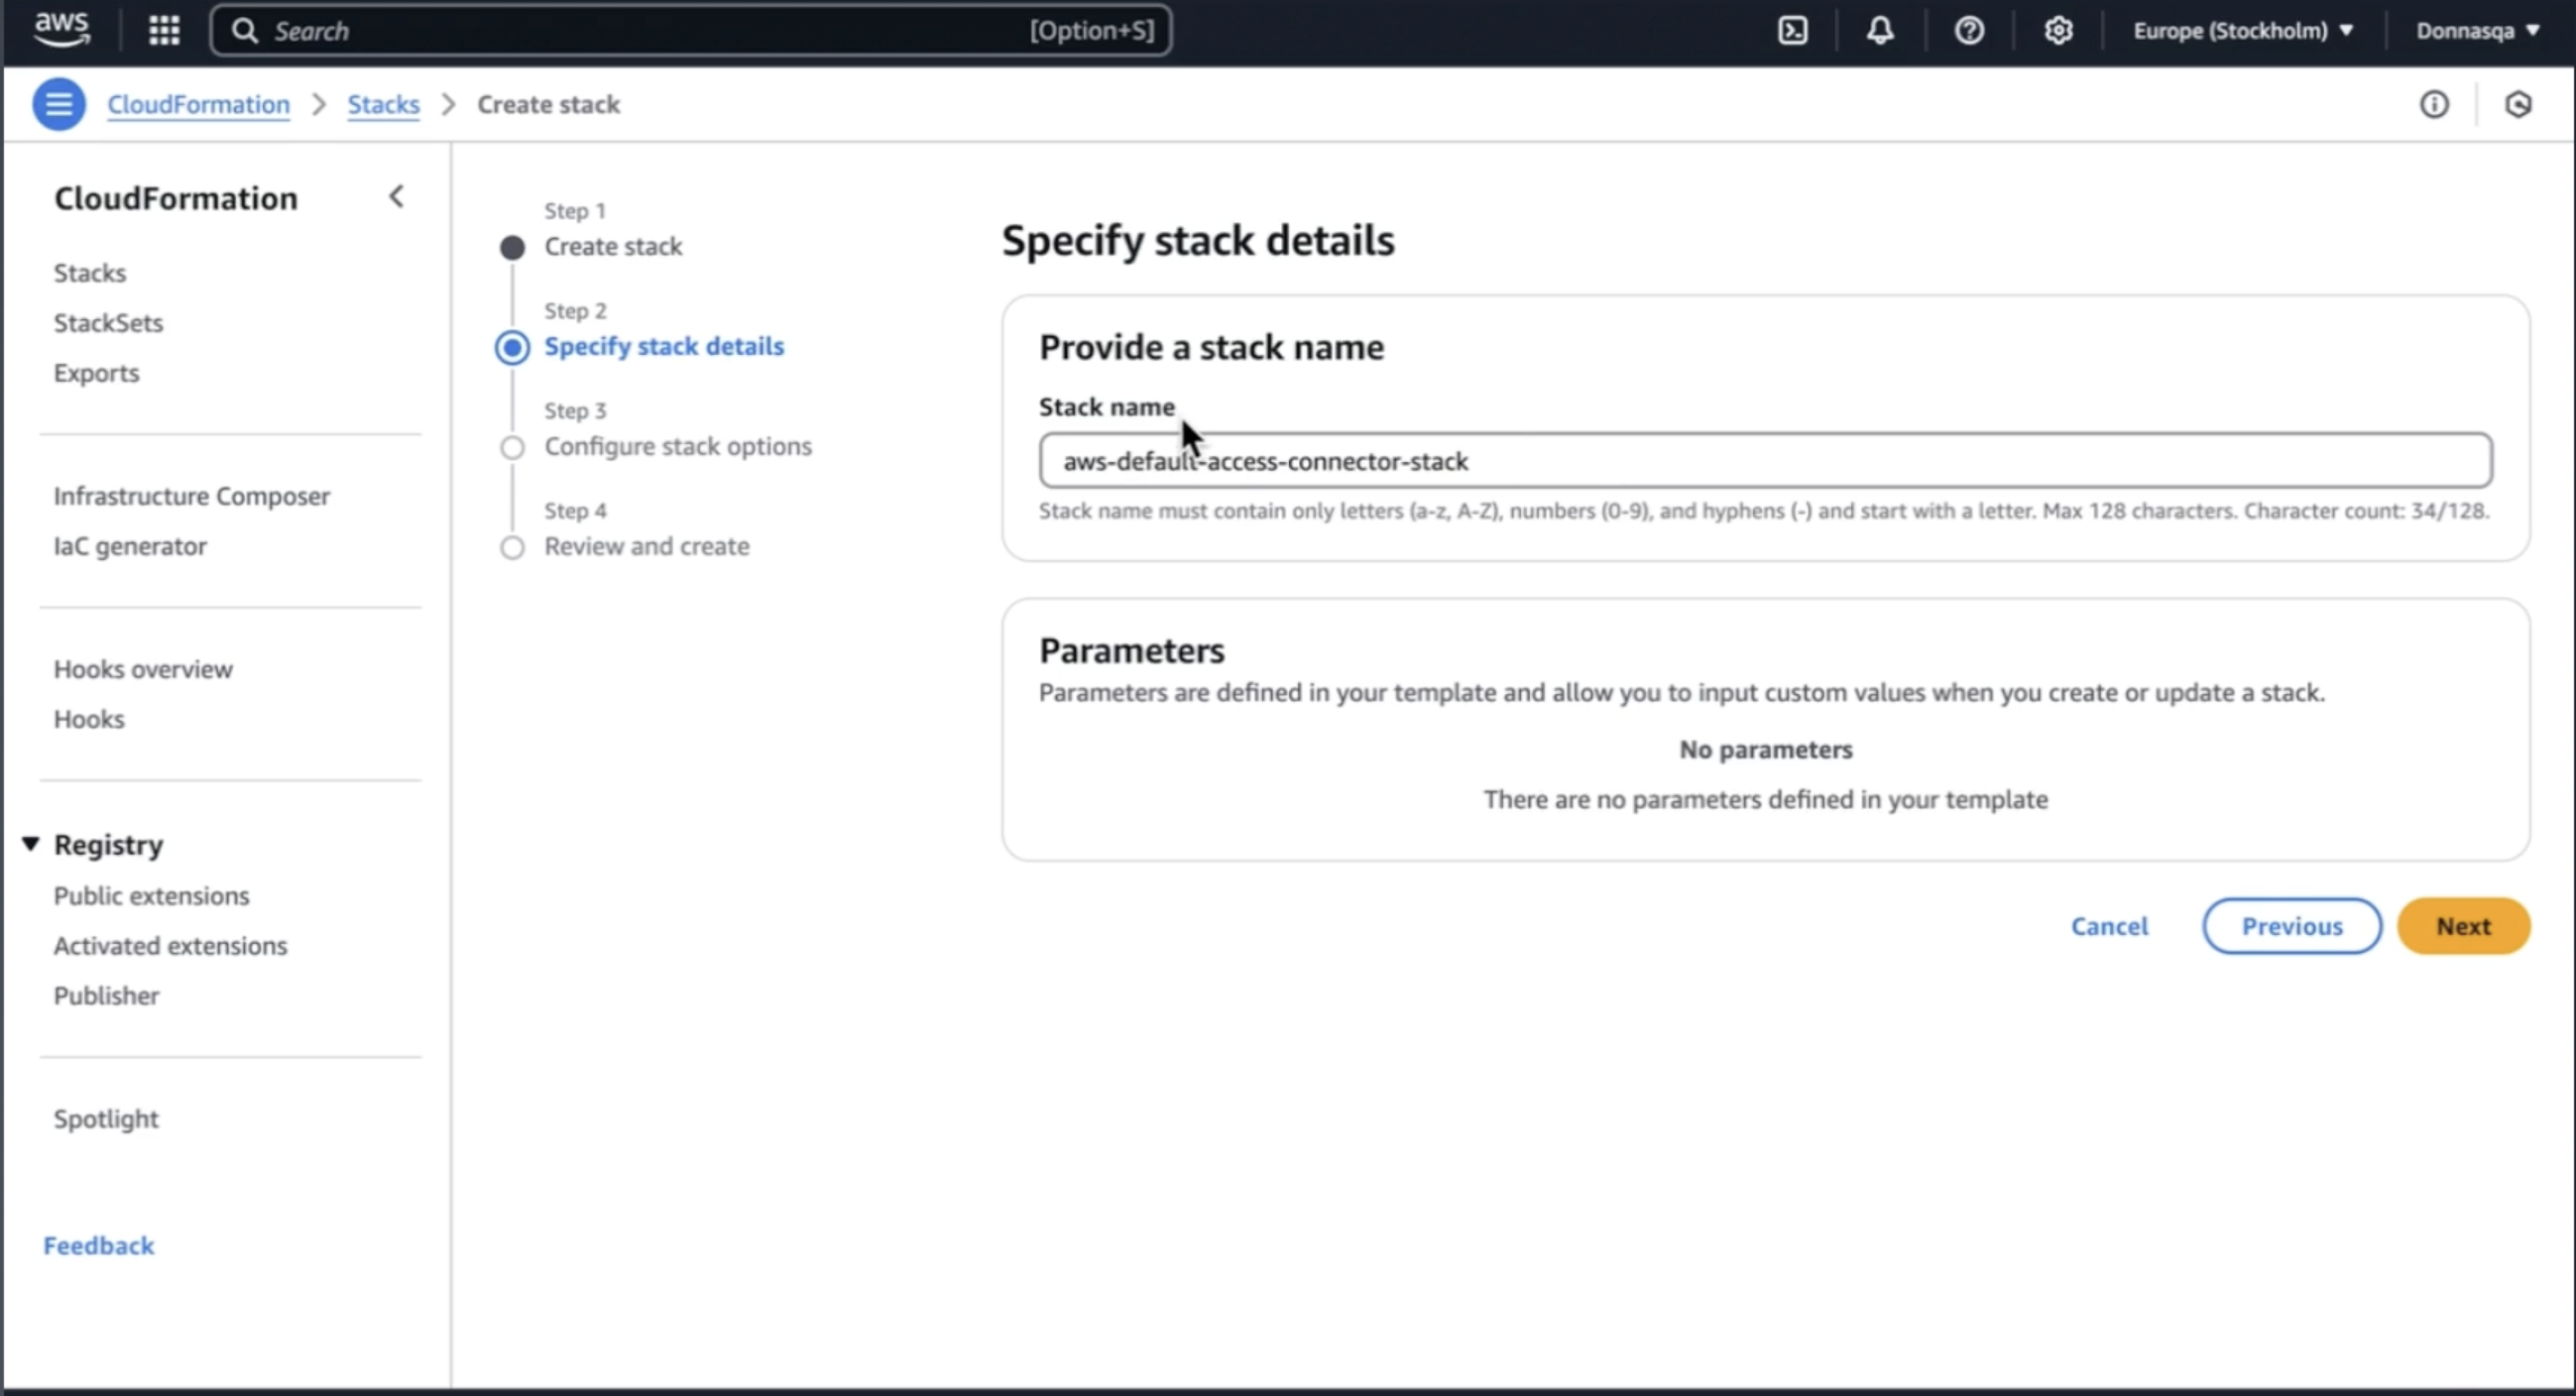
- Specify Stack Details > Stack name will be provided by default based on your connector name provided in step 4. Simply click “Next”
- Configure Stack Options(Optional Step)
- Review all Configurations and click “Submit” to create the stack.
- Monitor Stack Creation -The stack will begin deploying. Wait until the status changes to “CREATE_COMPLETE”
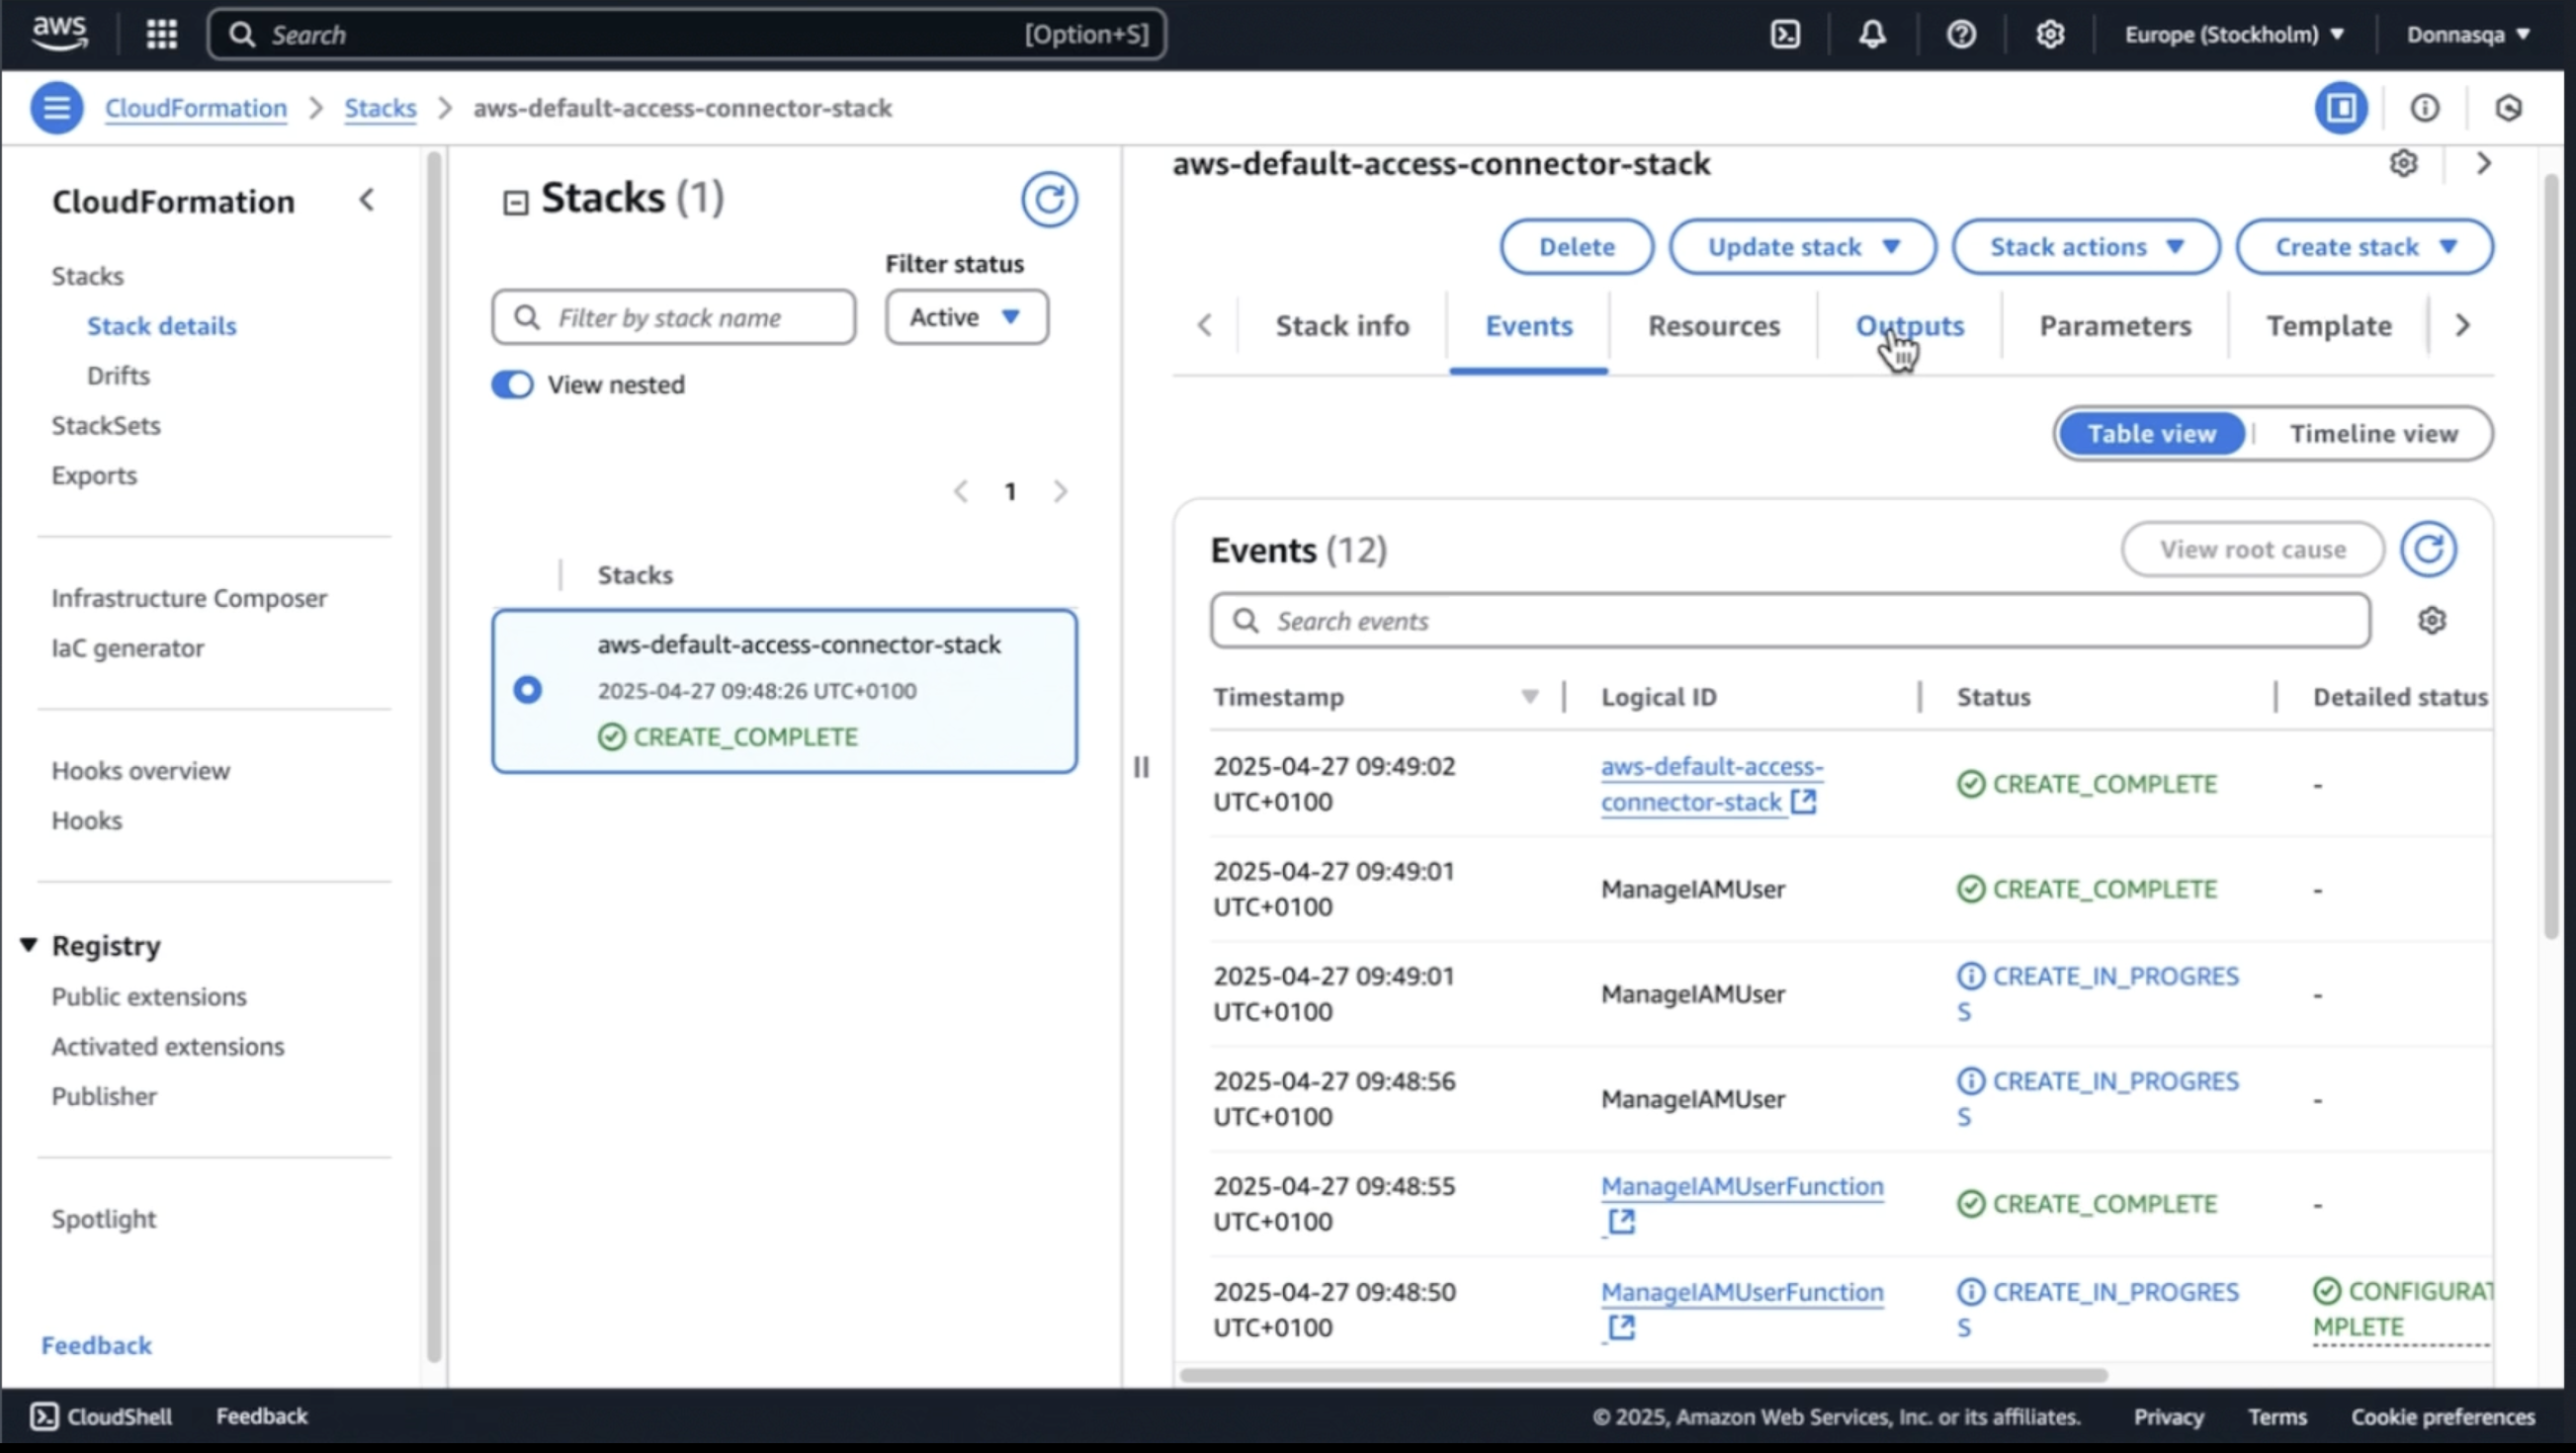
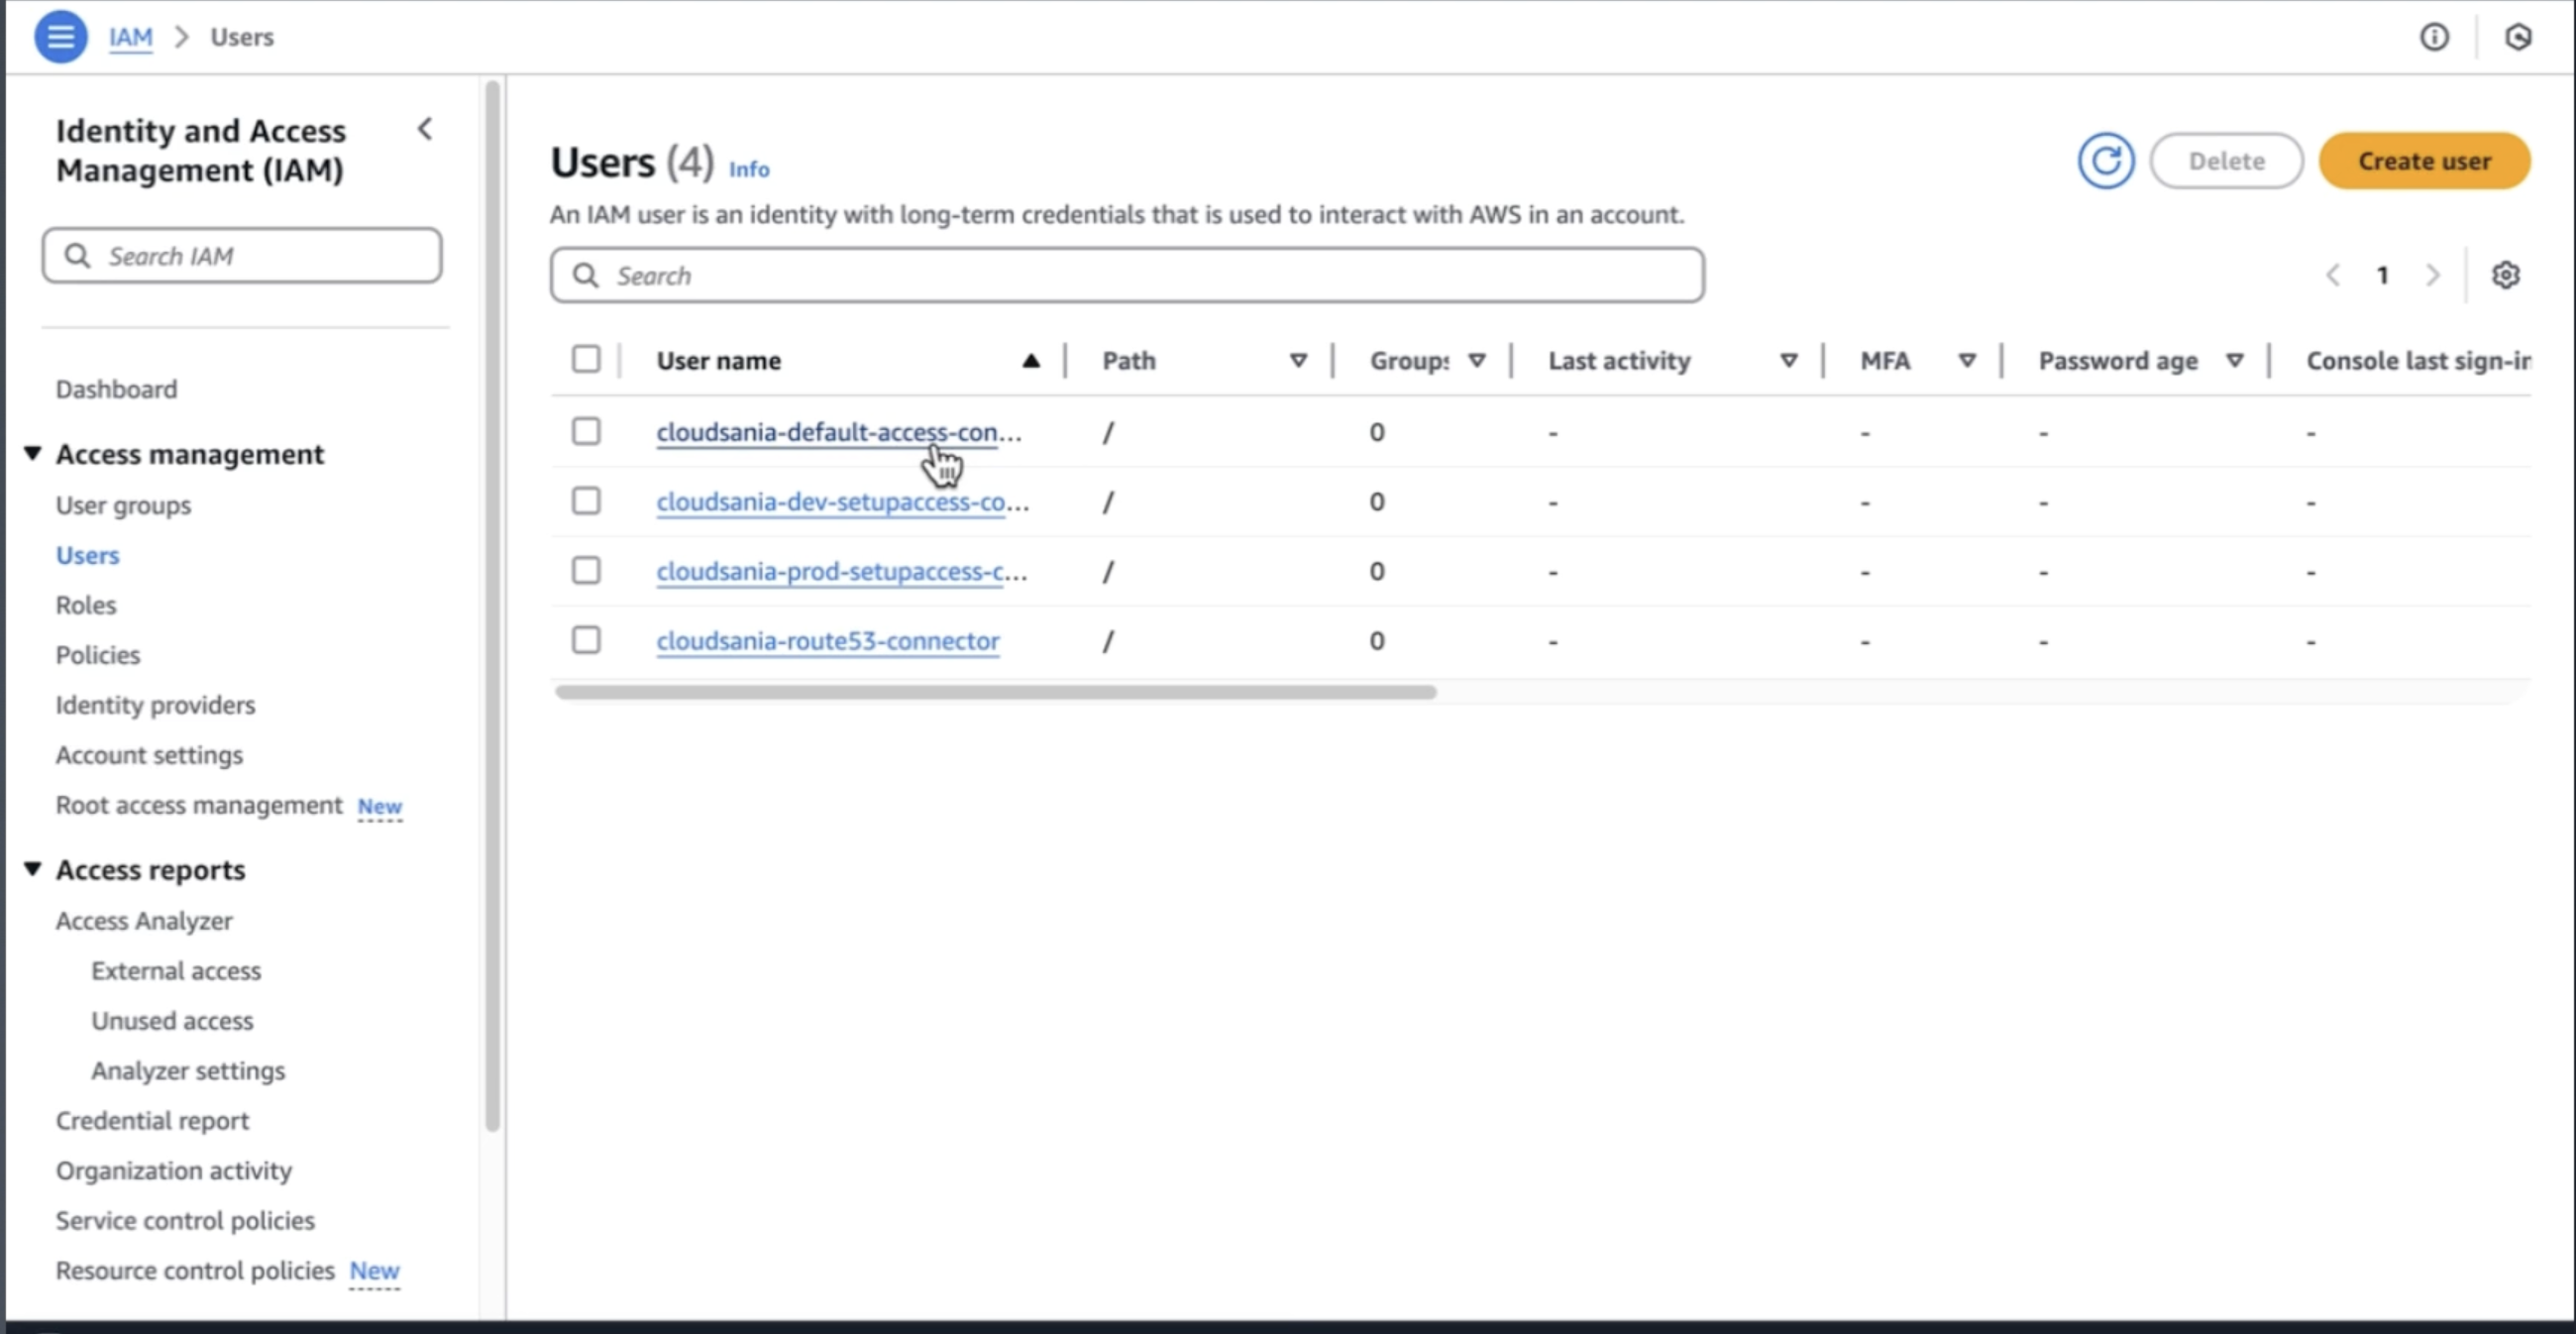
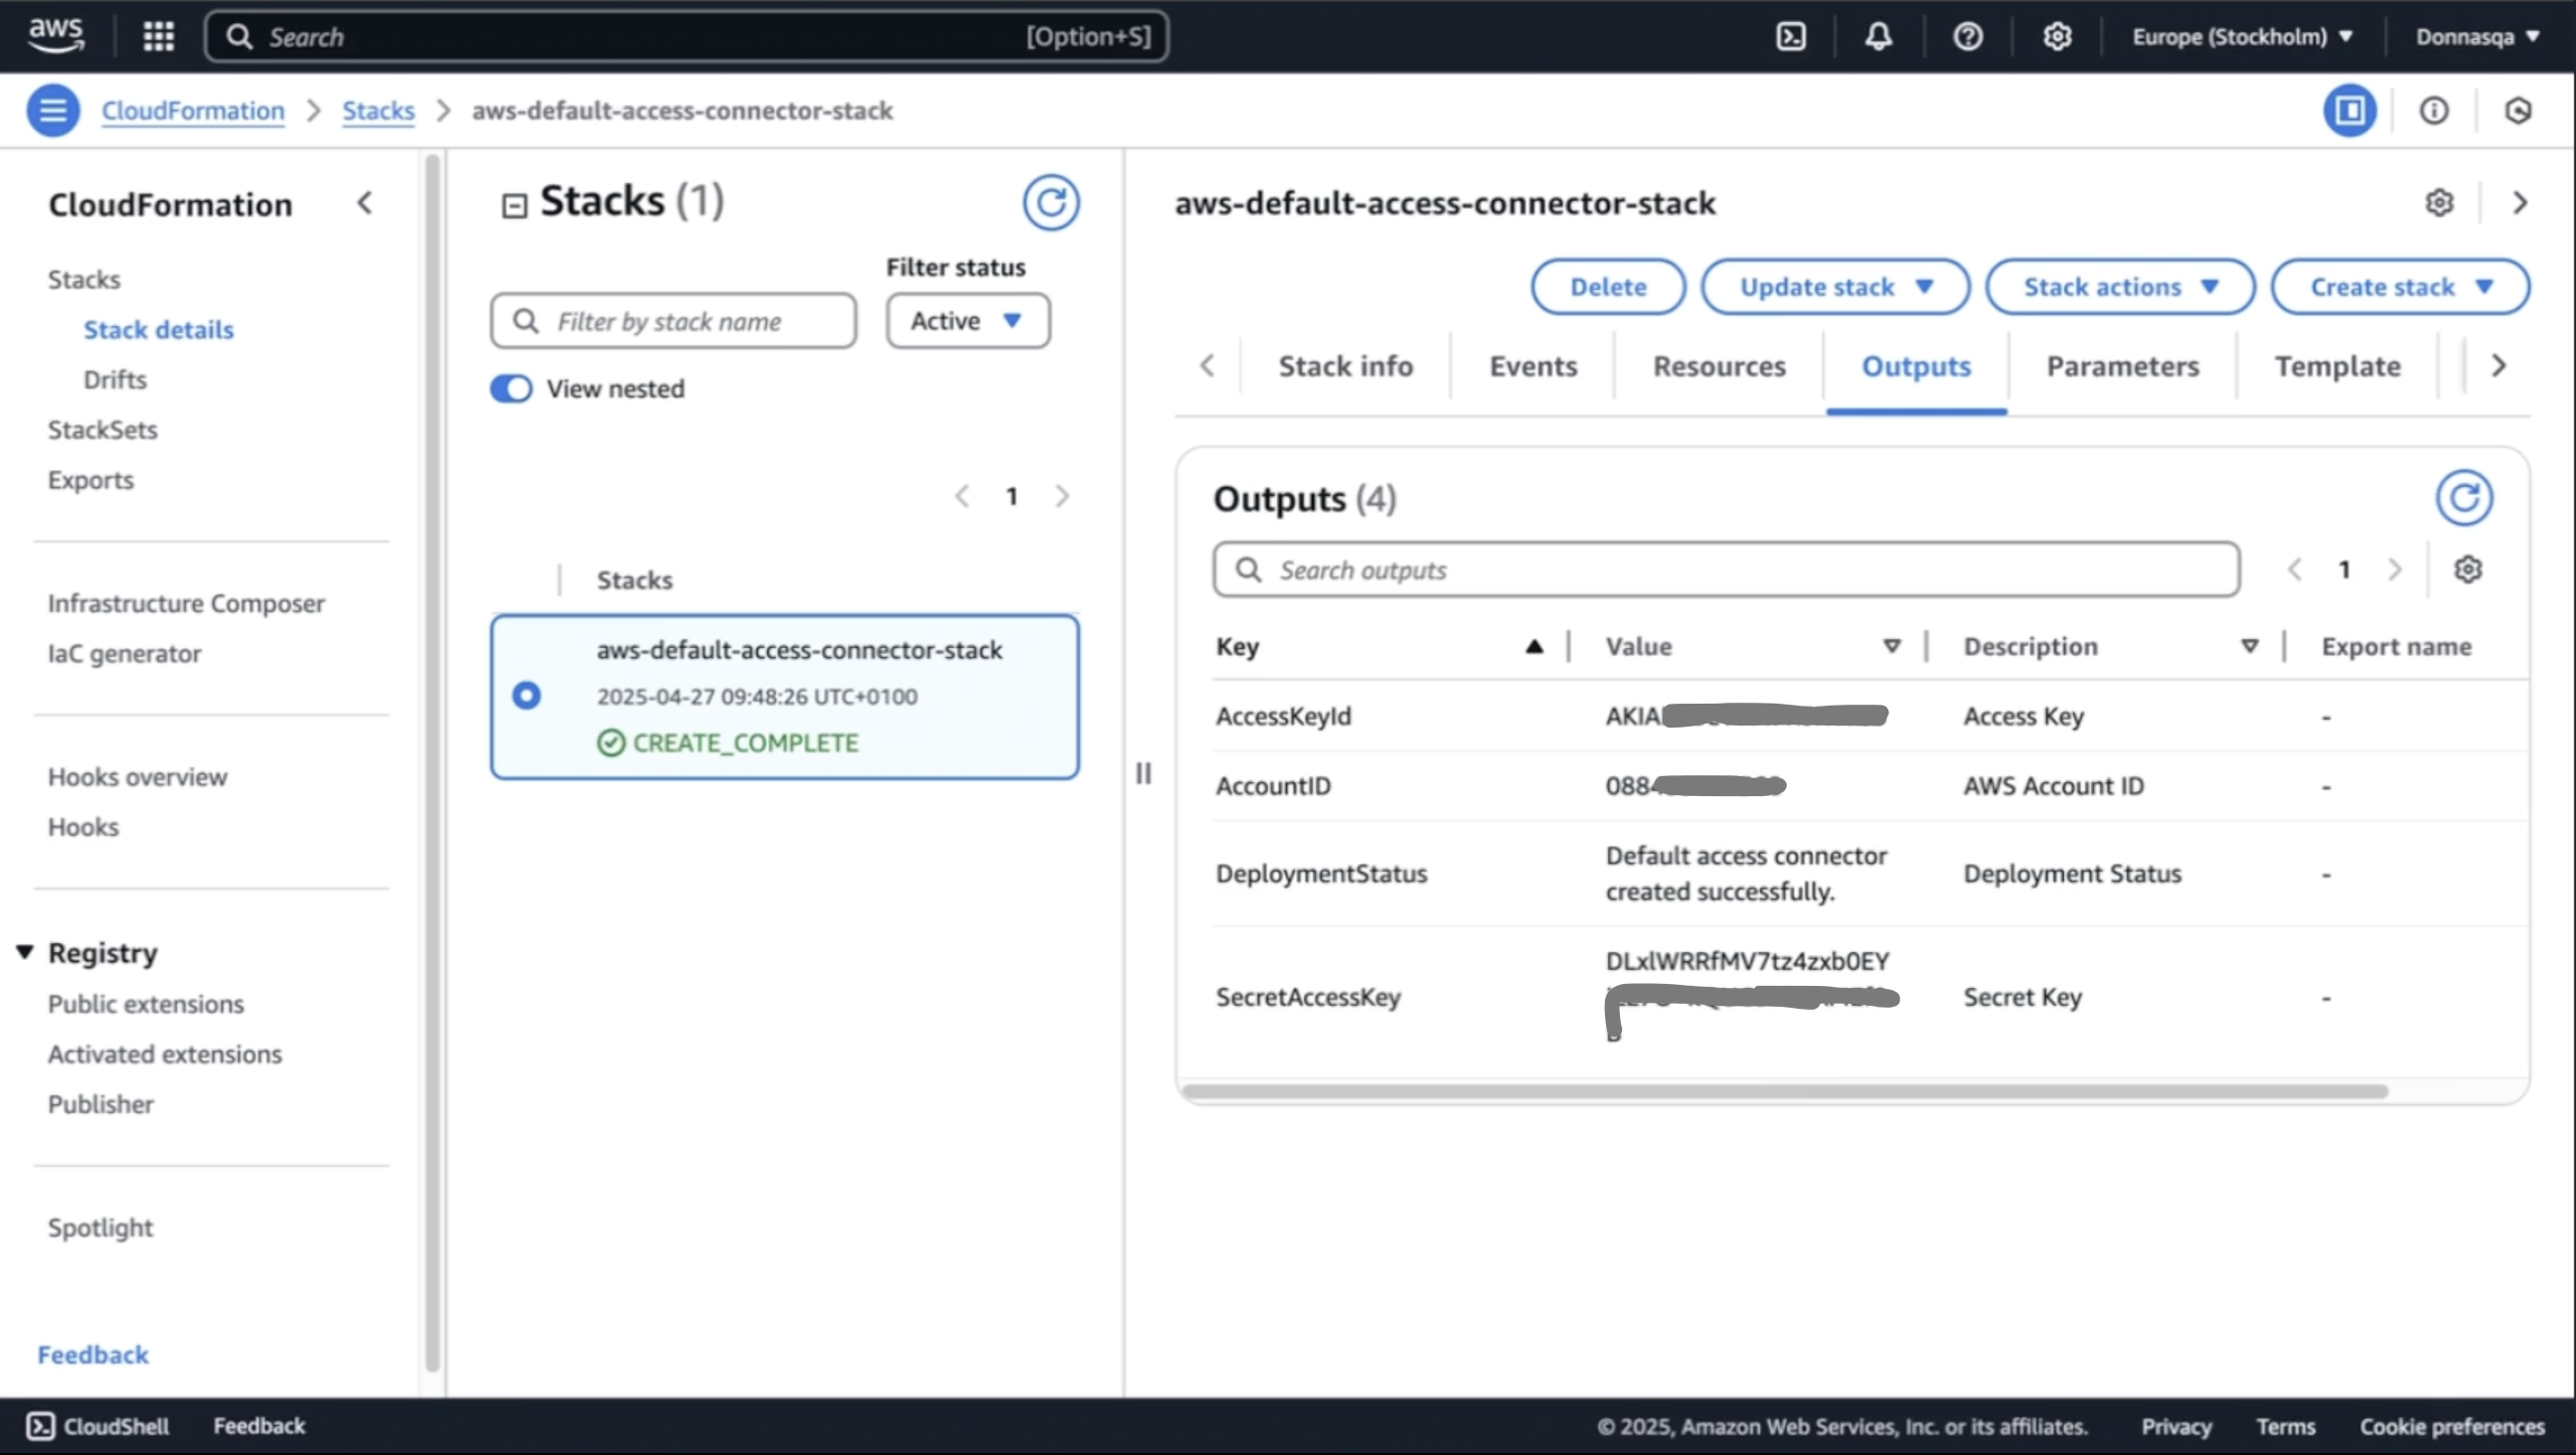
- Click on “Outputs” tab when the stack status changes to “CREATE_COMPLETE”
- Retrieve the generated keys and store them securely: 📌 Access Key ID 📌 Secret Access Key 📌 AWS Account ID
- You can now switch back to your Cloudsania tab opened to the left and continue the connector setup.
-
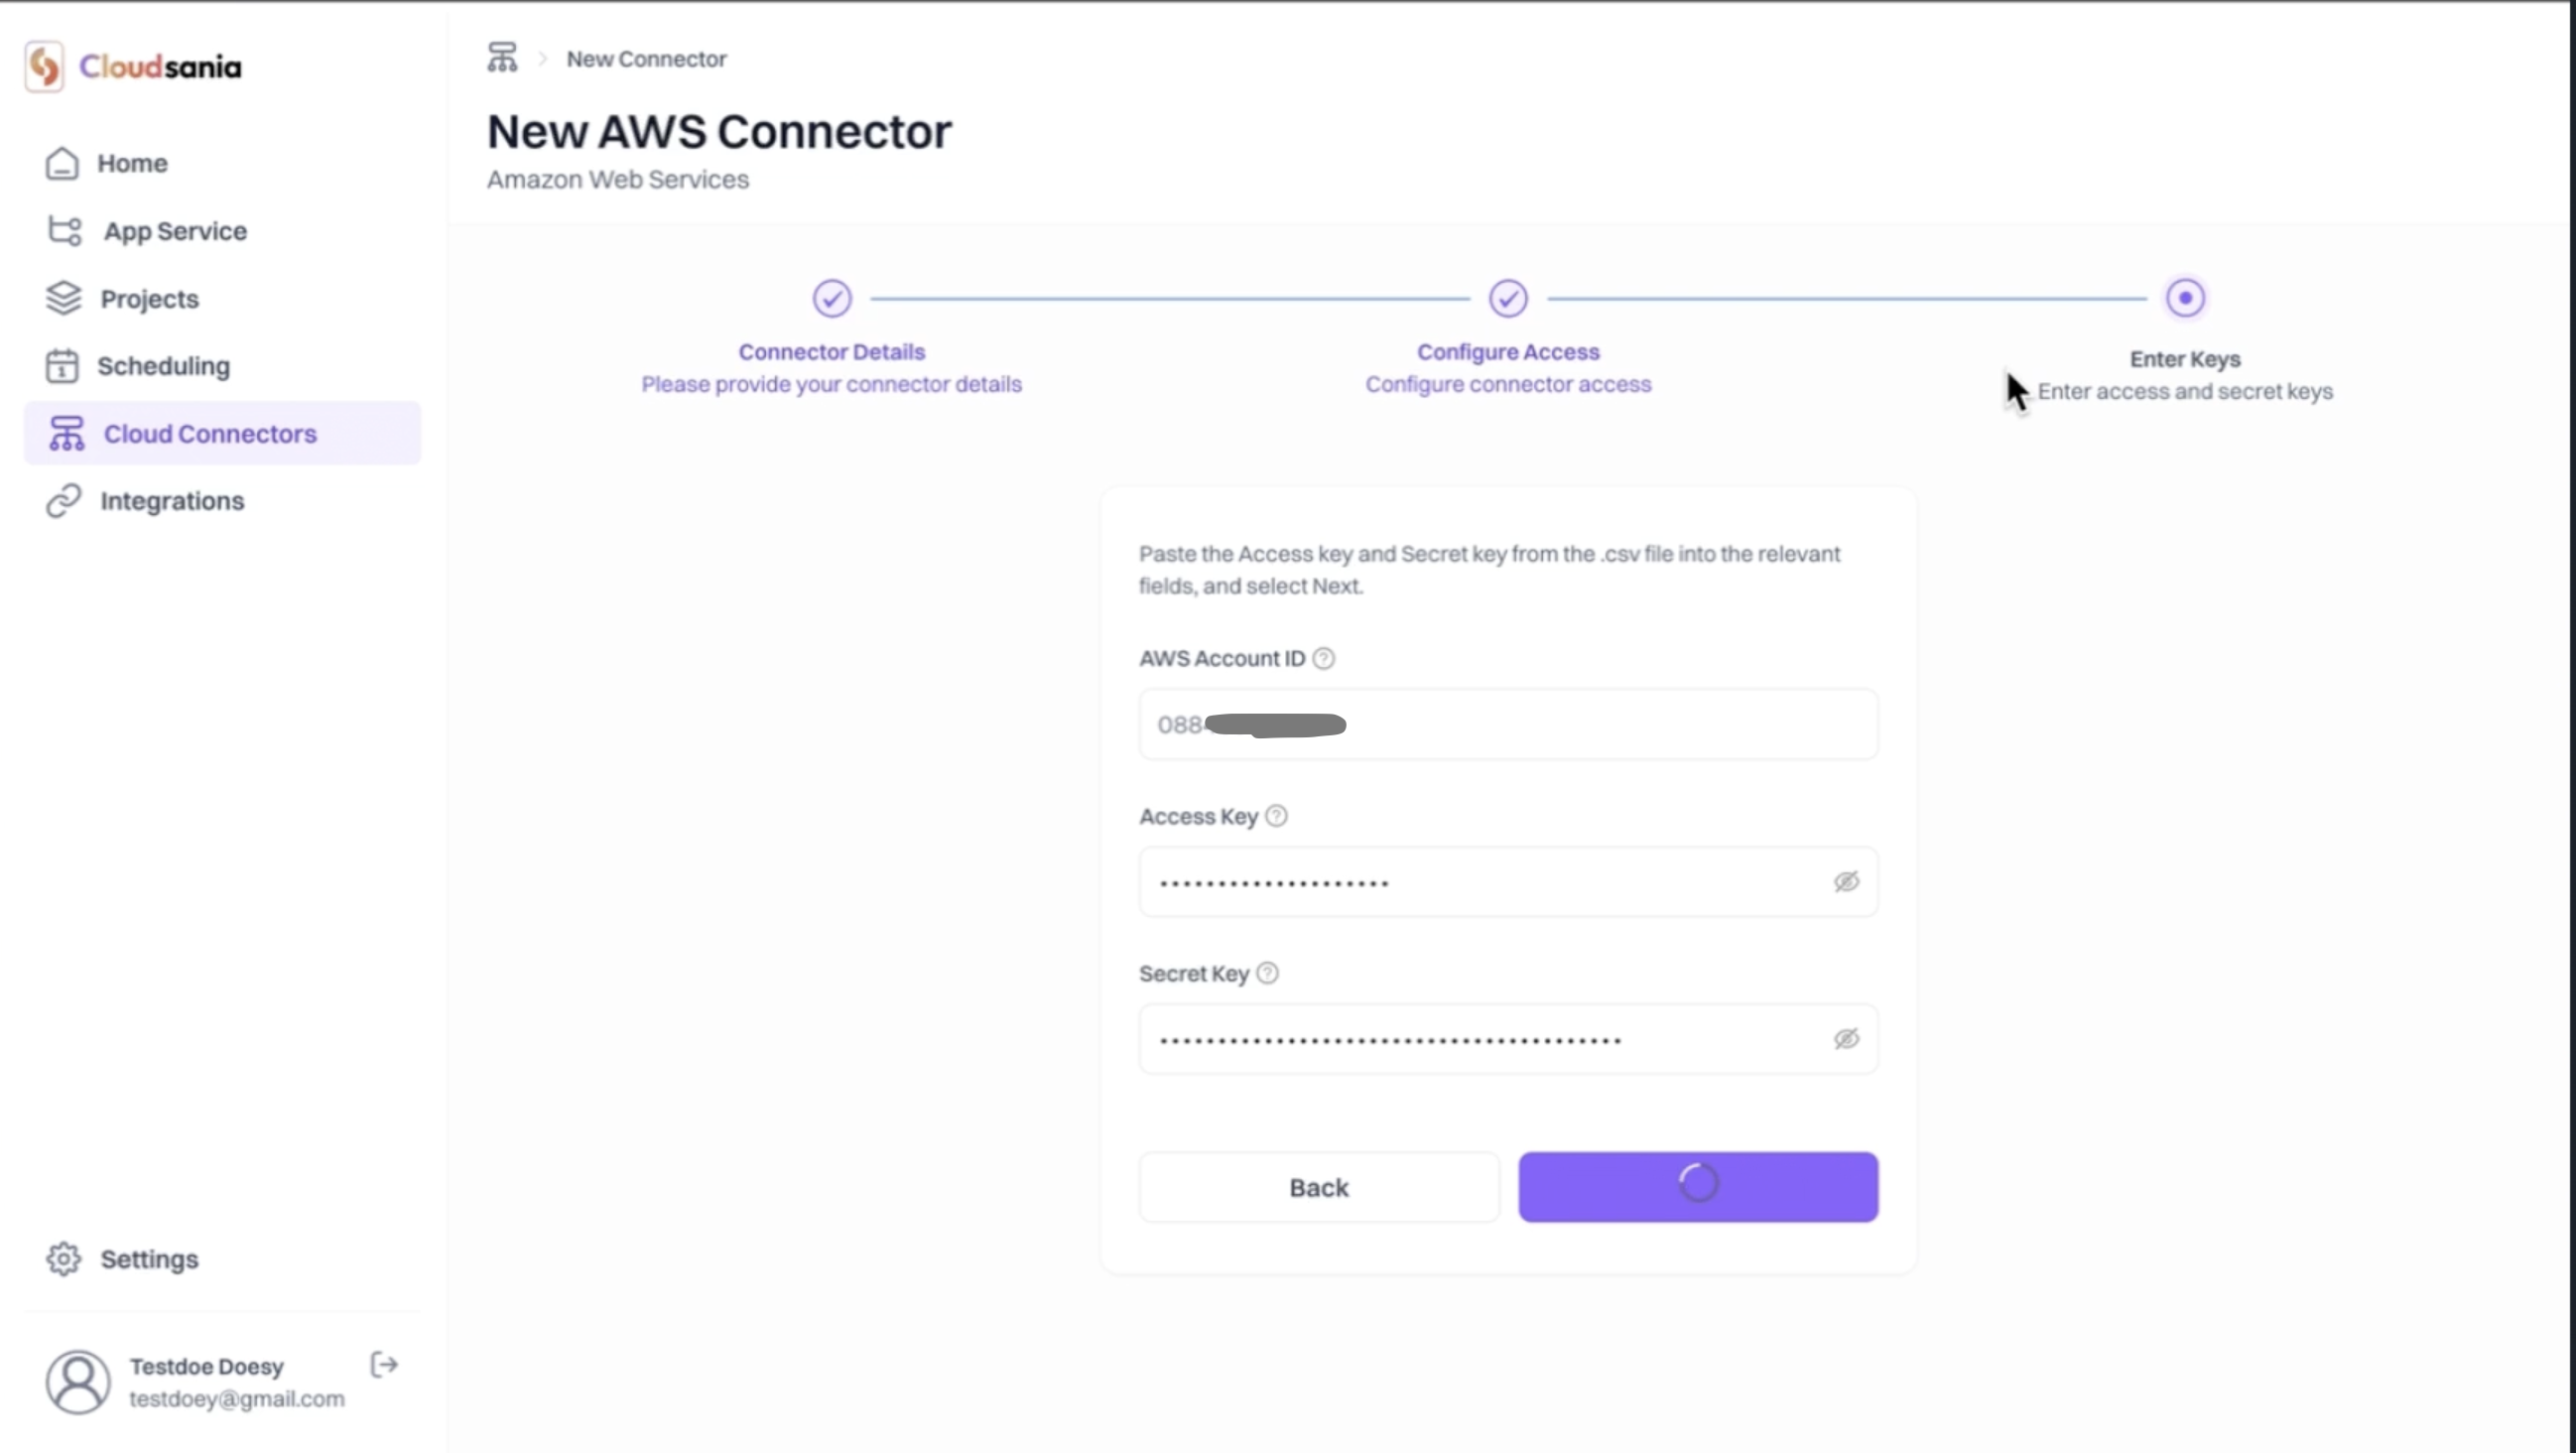
Proceed to Enter the Keys retrieved in the stack output.
- Enter your “AWS Account ID”, “Access Key”, and “Secret Key” in the relevant fields
- Click on the “Create” button
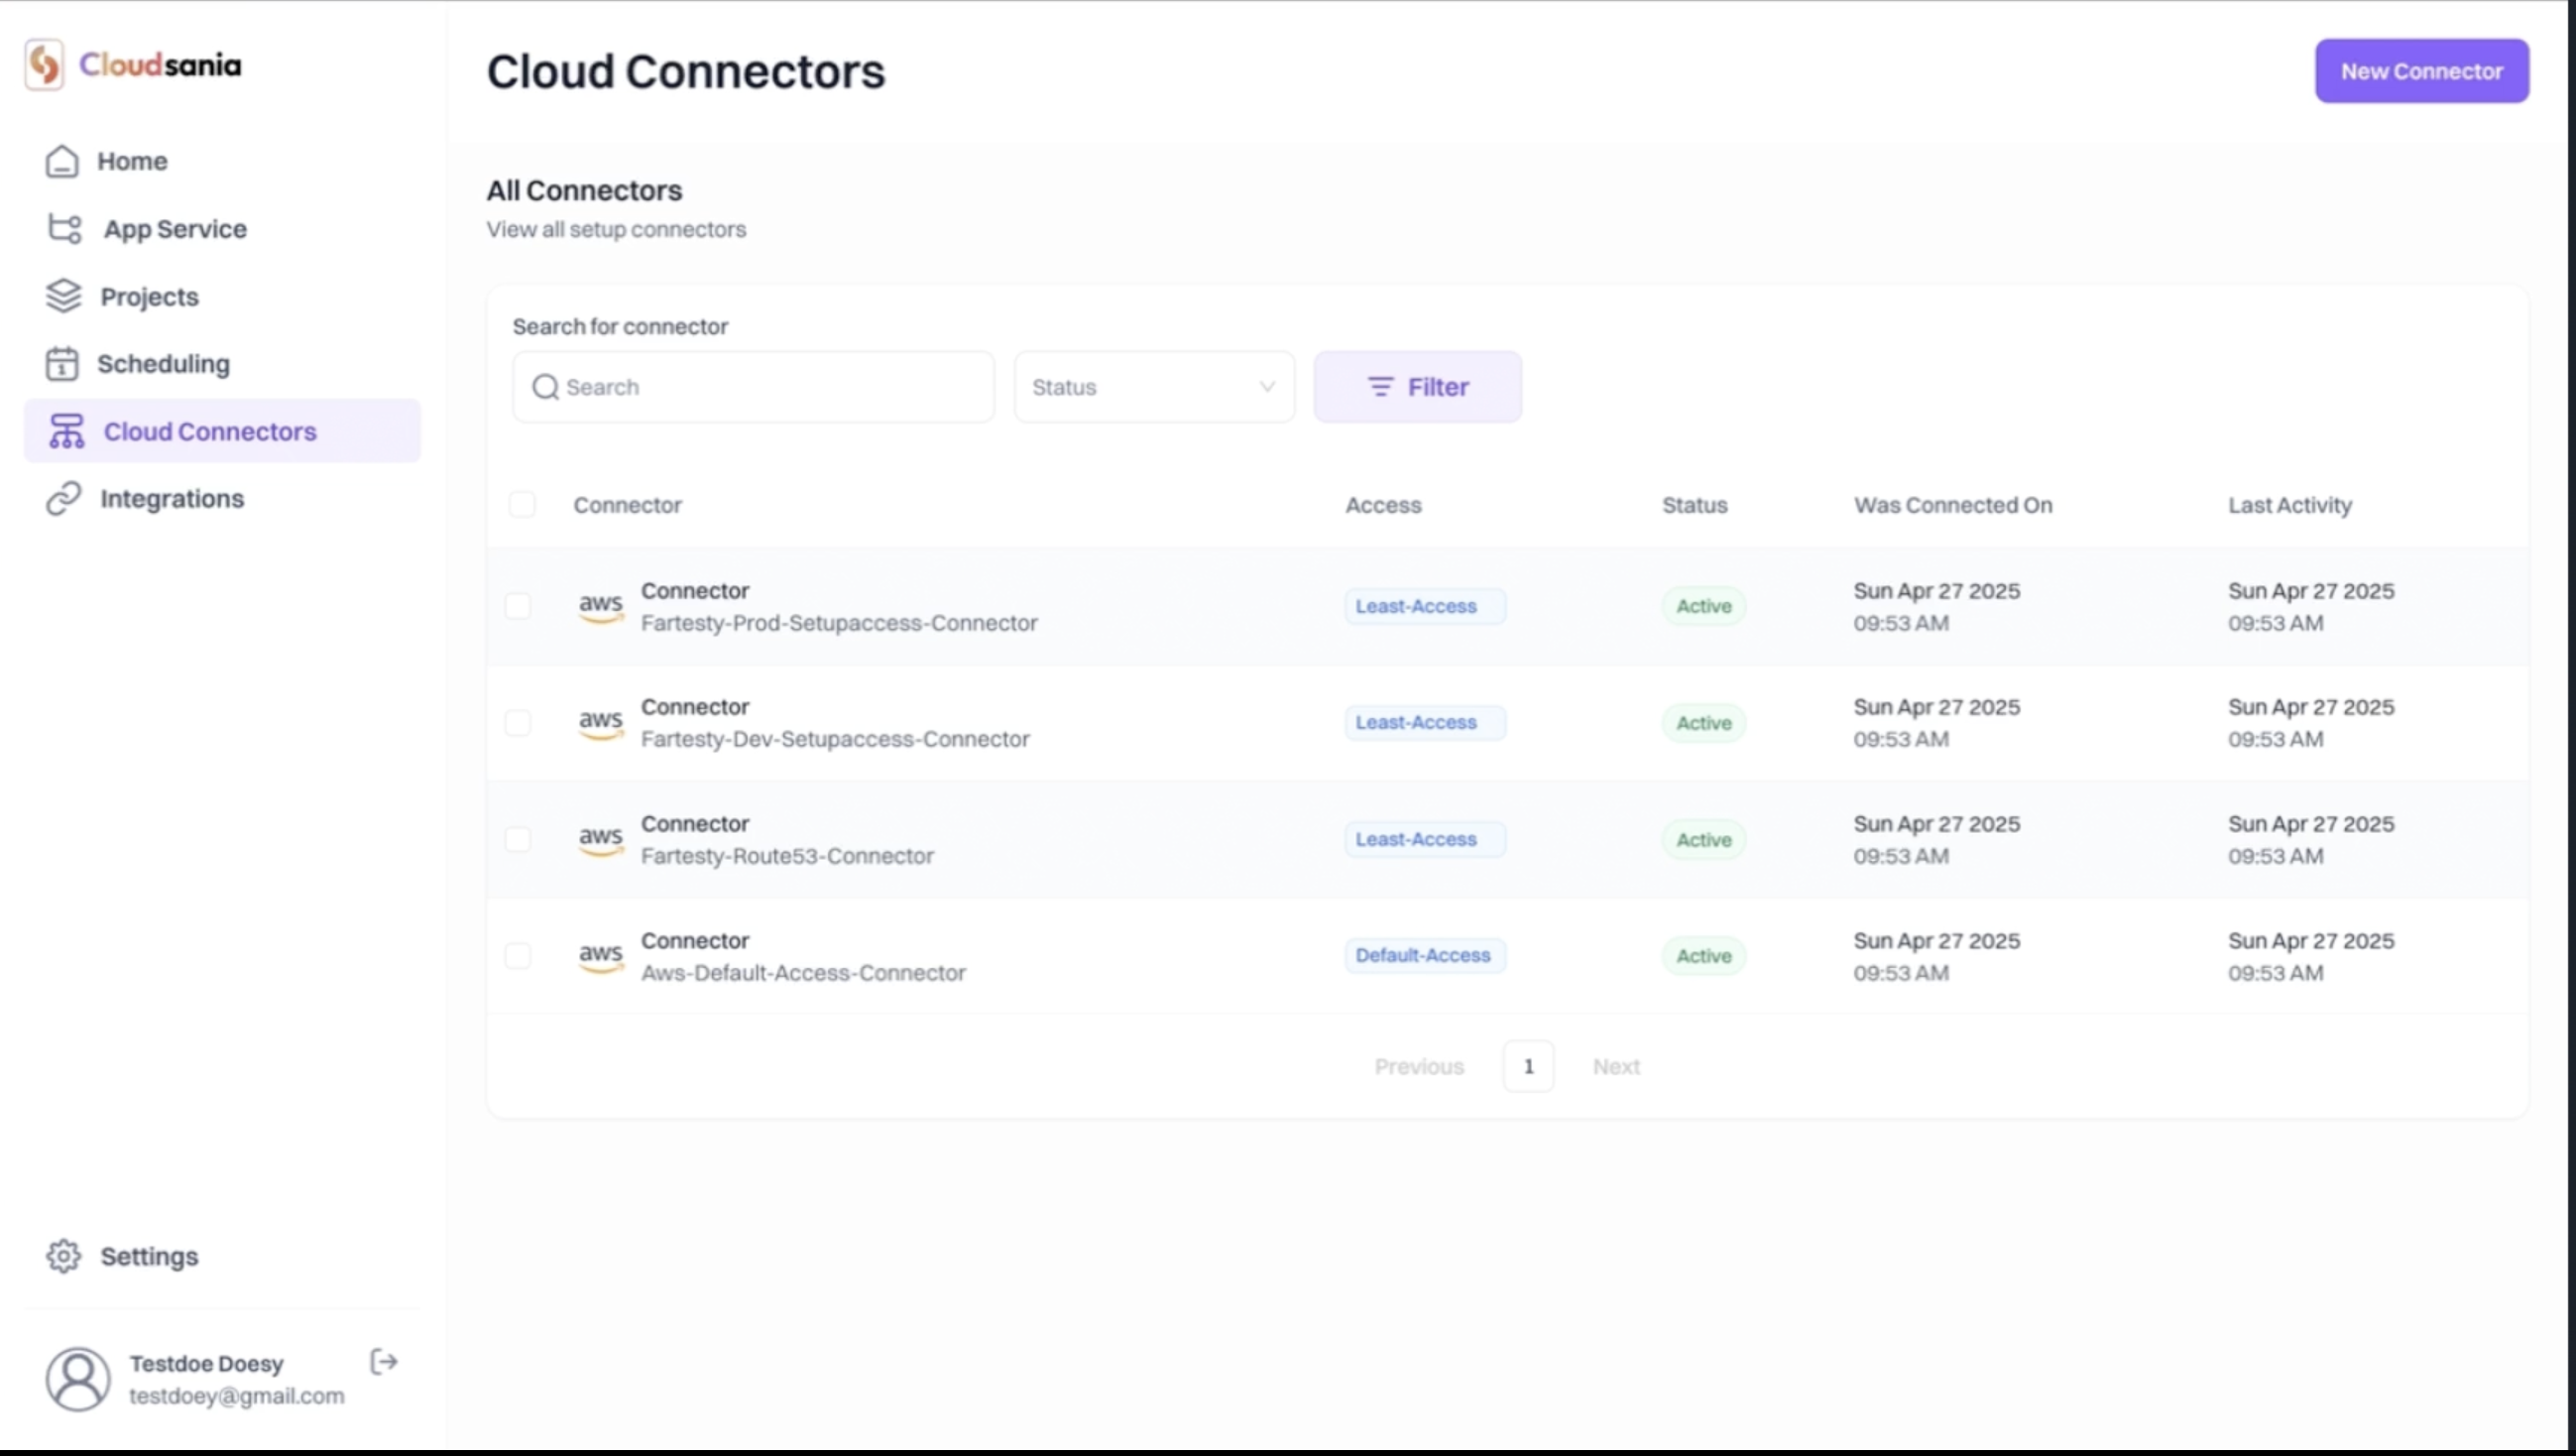
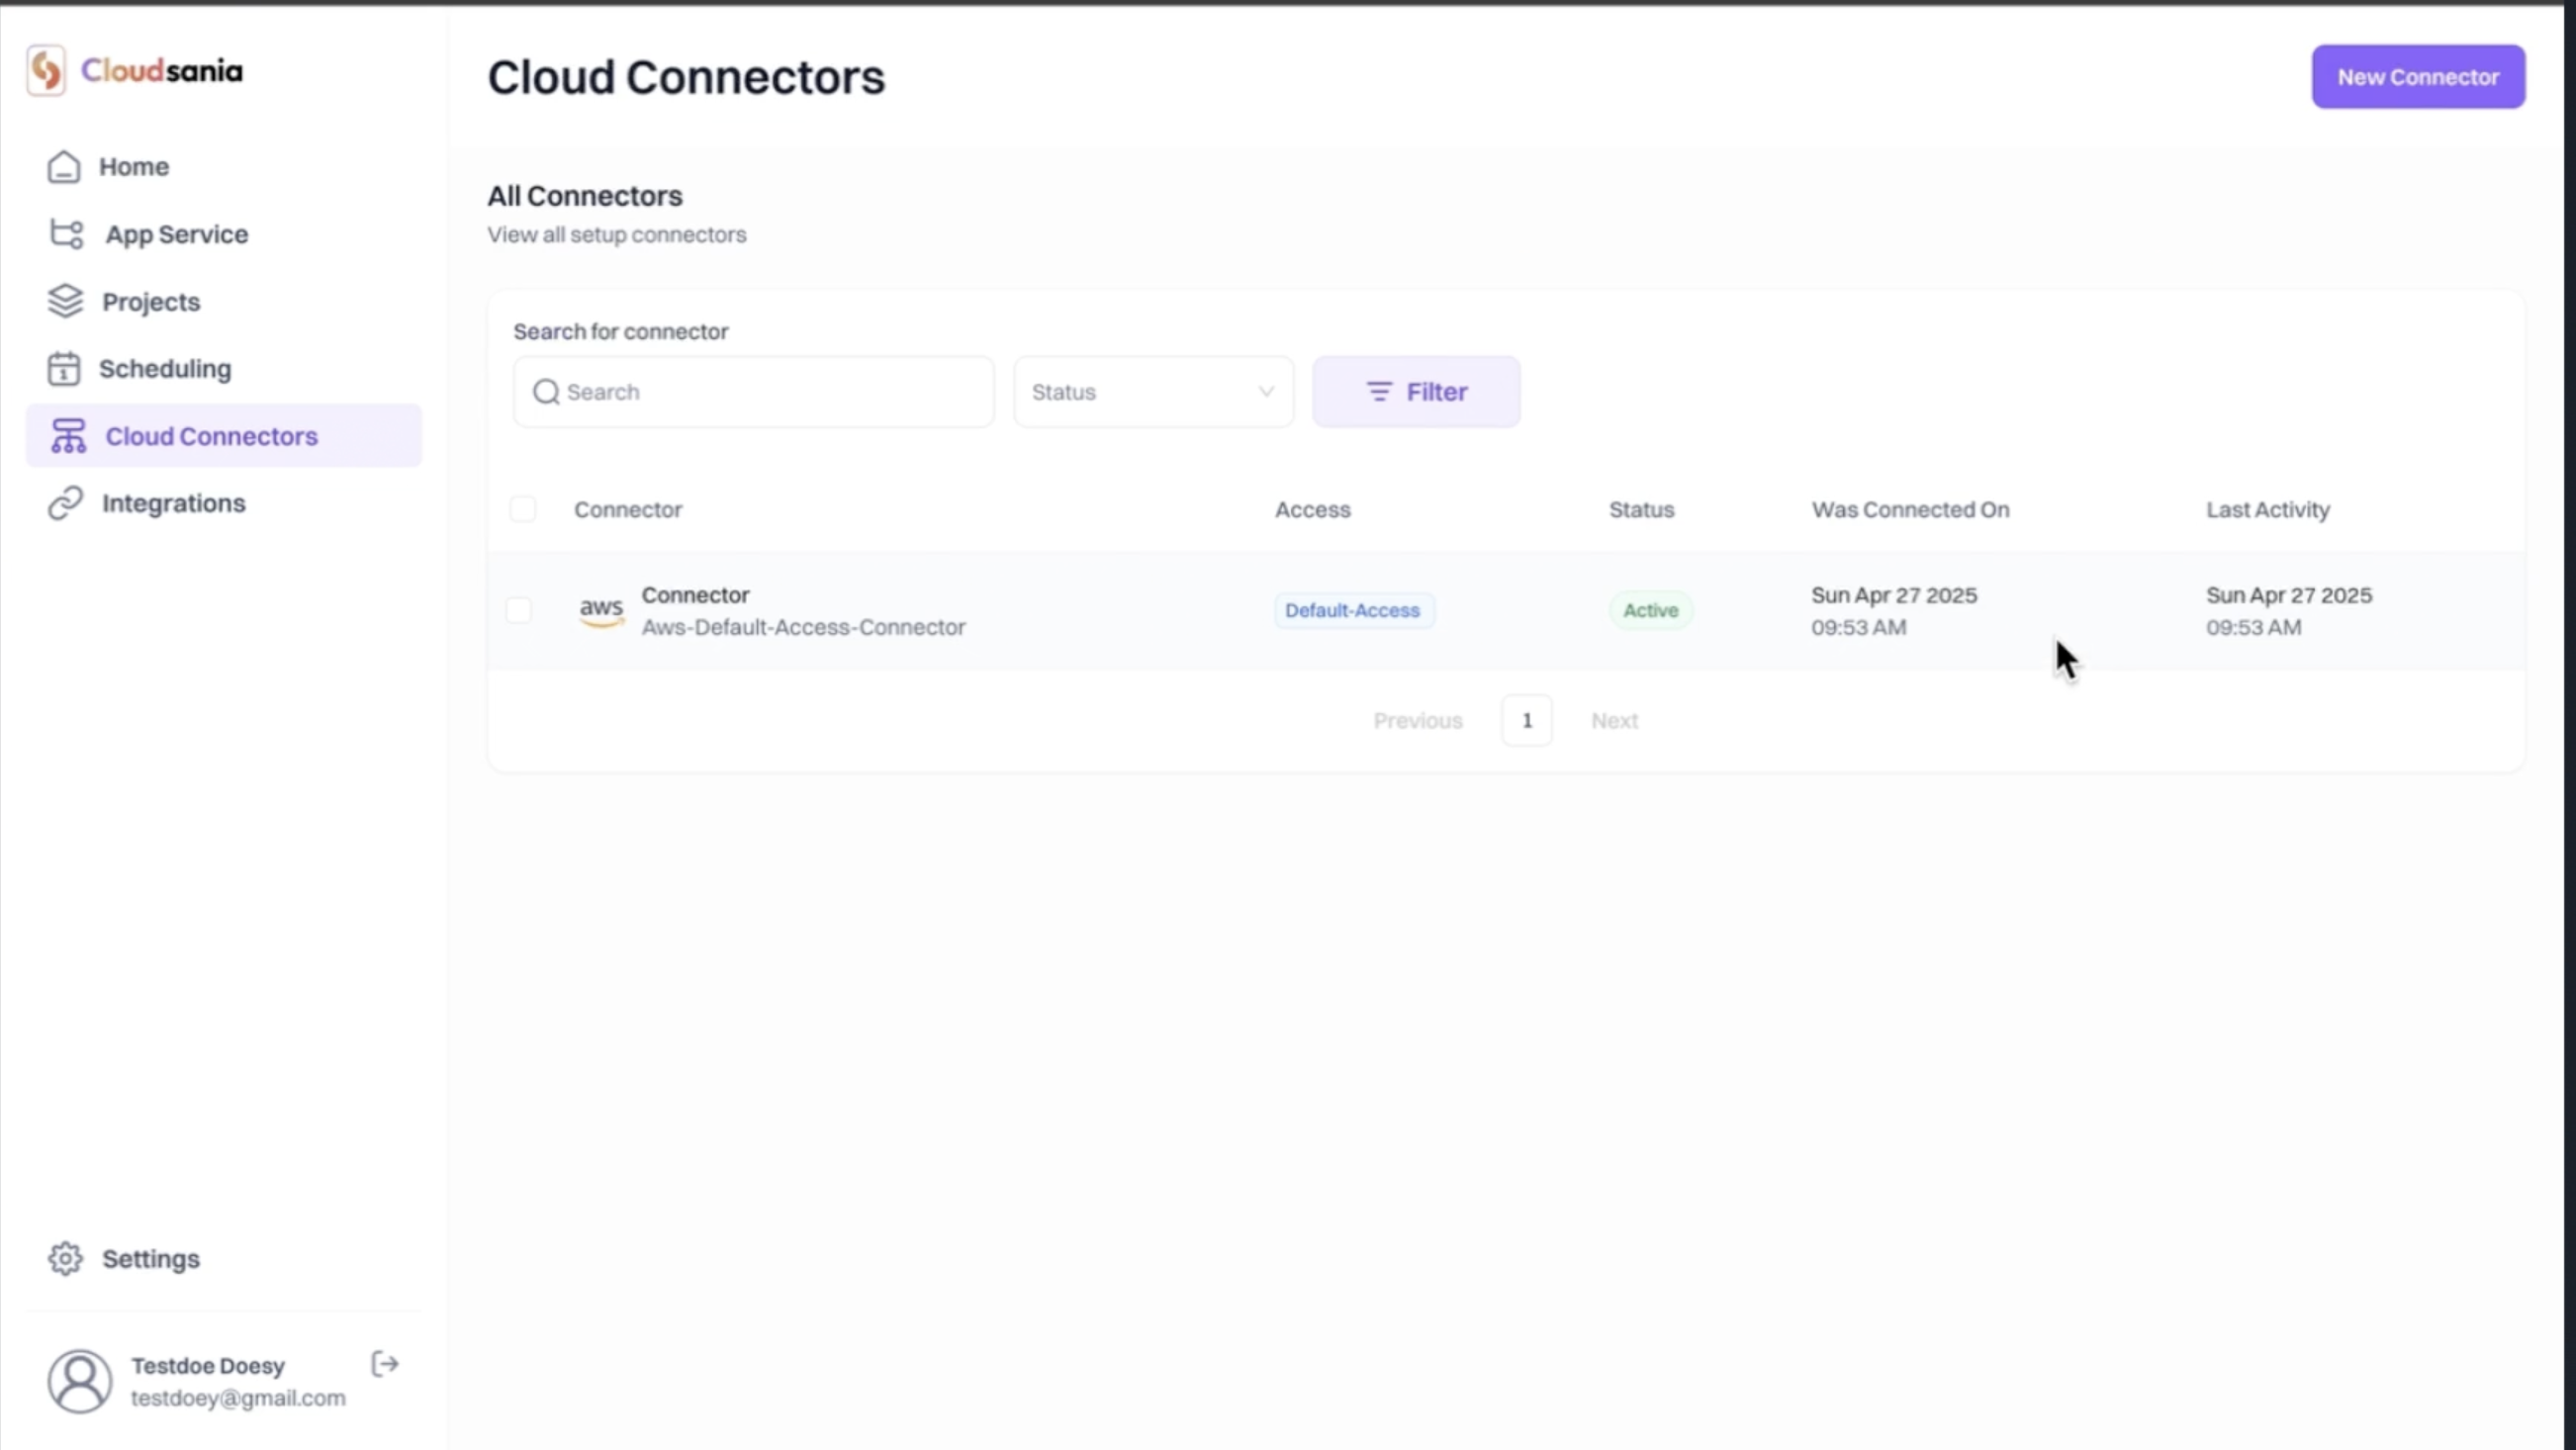
- Upon successful creation, your AWS default access connector will now appear on the “Cloud Connectors” page and the status marked as “Active”
Next Steps
✅ Verify the creation of your “Setupaccess-Connector” on the “Cloud Connectors” page. Wait for fews seconds and you’ll see the the create Setupaccess-Connectors.